Introduction and preparations
I find coding using the Laravel framework such a delight. It provides this clean and homely environment you grow to love even more each day.
Until, one day, you decide it’s ready for you to deploy your Laravel application. You’re then forced to leave your cocoon and embark on a journey full of googling server stuff, DNS things, nginx configurations, apt-get this and apt-get that.
In this series, we’re going to deploy a Laravel application from A to Z together. We’ll set up a domain name, a server and use the Deployer library to deploy our application with no downtime. At the end of the series, we’ll also see how we can use paid products such as Laravel Forge and Ploi to hugely reduce the stress of maintaining our servers.
The big picture
Alright, before we dig in, let’s take a step back and examine what we’ll achieve by the end of the series. That way you can be sure this series is what you're looking for before committing to reading it.
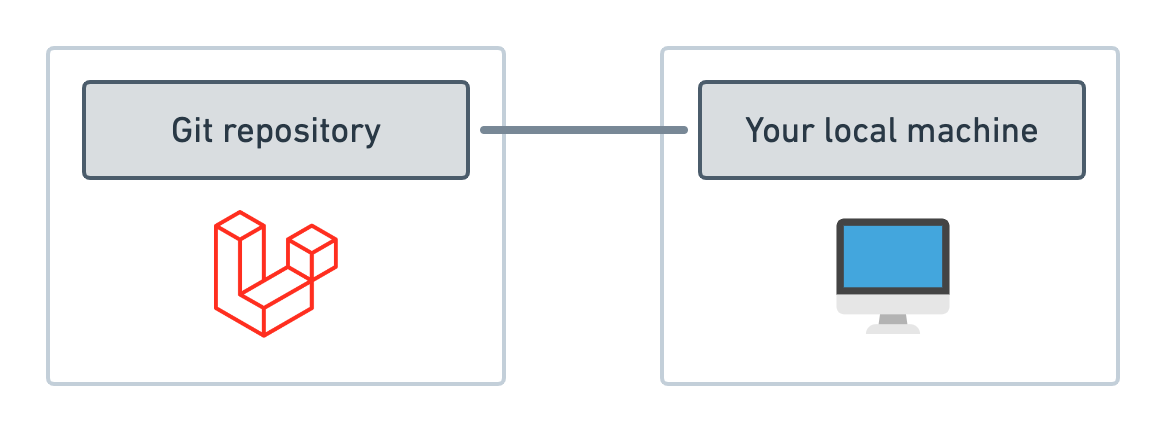
First of all, I’ll assume you already have a Laravel application on a git repository that has been cloned to your local machine. This series is not about creating a Laravel application but about deploying an existing one and I think it’s fair to say that these requirements are fairly standard.
By the end of this series, we will end up with the following structure.
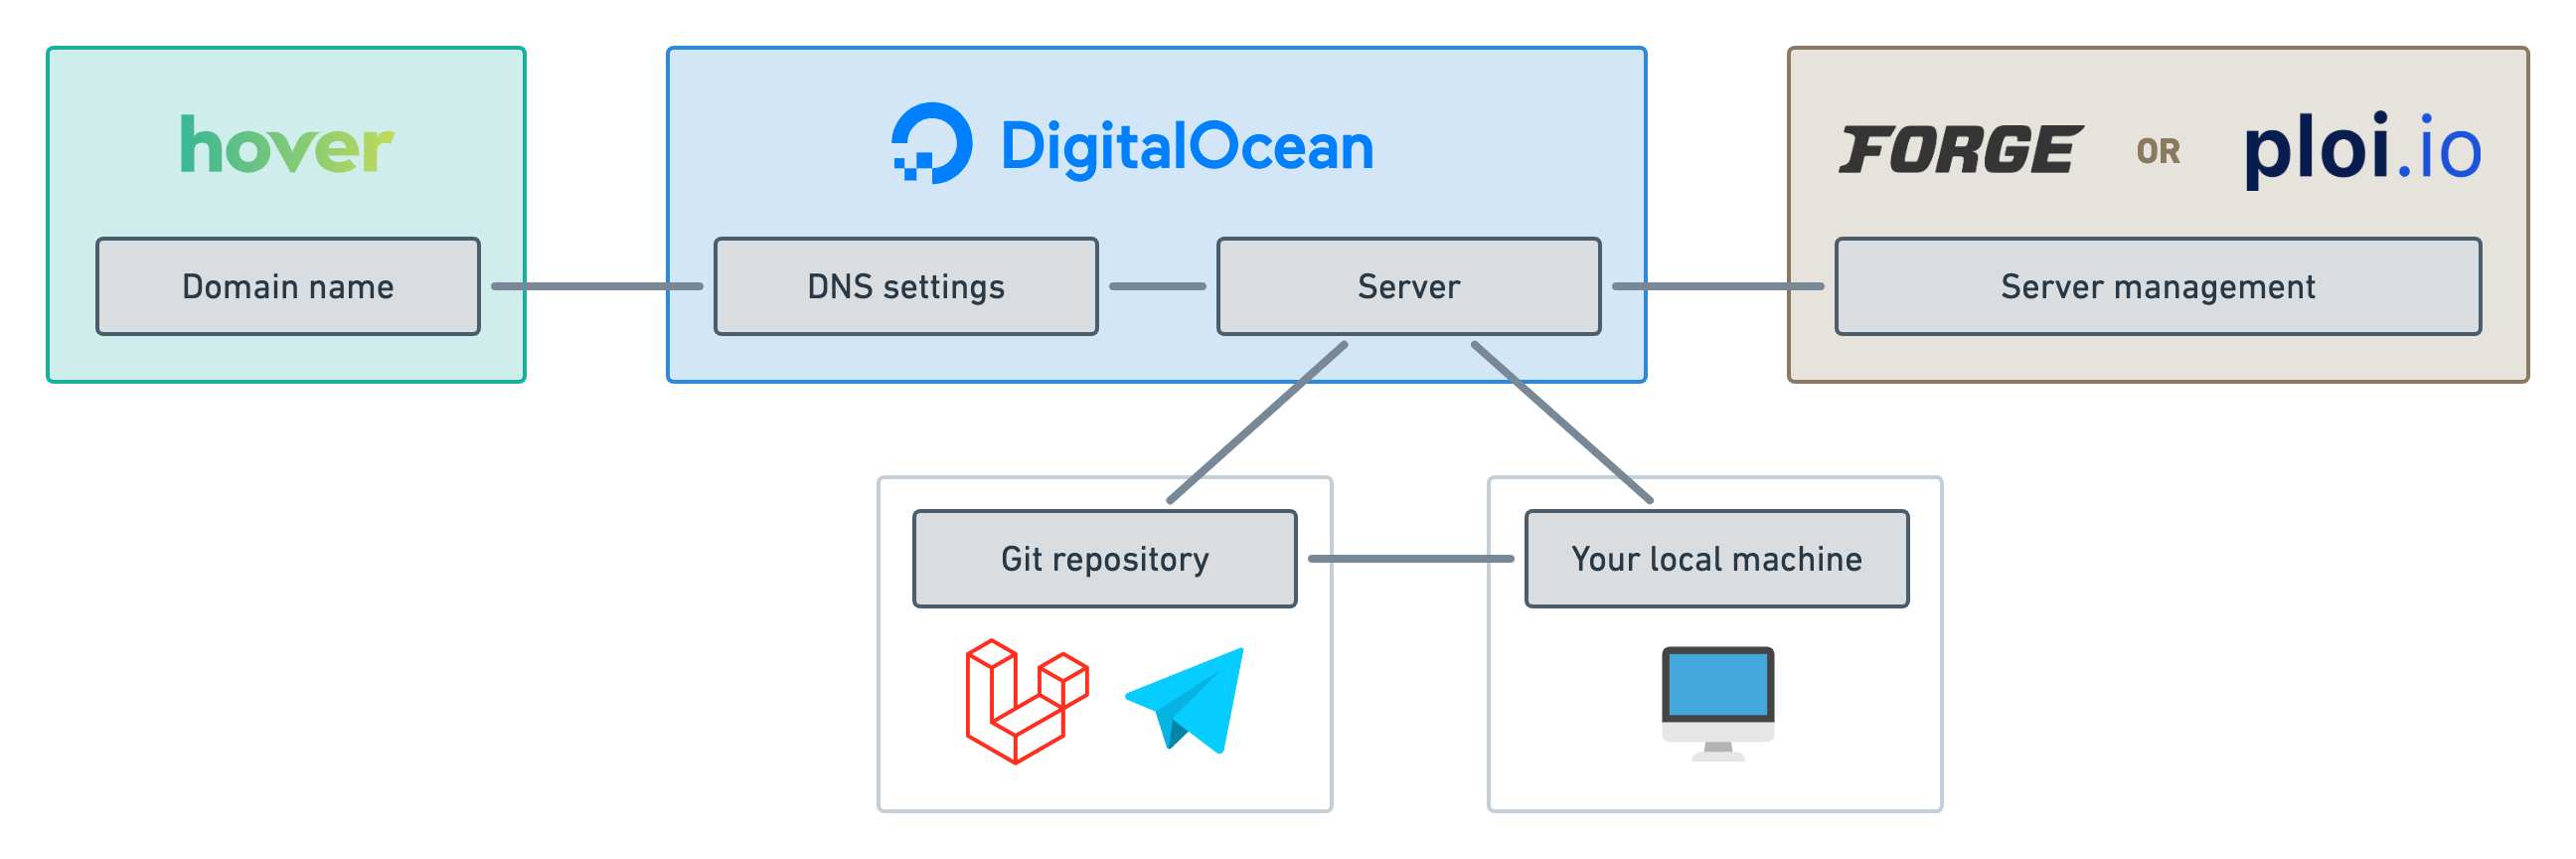
- First, we’ll purchase a domain name on Hover and make its nameservers point to Digital Ocean so we can manage our servers and our DNS settings in one place. We will do this in this article.
- Then, we’ll go ahead a create a server from scratch on Digital Ocean on the next episode. Feel free to skip that one if you’ve already got a server ready or if you’re using Forge or Ploi to create your servers.
- With a server ready to deploy to, we will install and configure the Deployer library within our Laravel application.
- We will then start the first deployment to our production server and set up its environment variables accordingly.
- Next, we’ll see how we can customise our deployment flow even further using custom tasks and recipes.
- Finally, we’ll see how to get started with server management applications such as Laravel Forge and Ploi but also how to get them working with the Deployer library.
- As a bonus for my wholesome sponsors, the very last article will act as an exhaustive checklist of the entire series that can you can refer back to when you’re getting your hands dirty.
The portals
When teaching a subject there is a tough balance to find between giving too much information or not enough based on the reader’s knowledge. Since this series is about “deploying from scratch” I will err on the “too much information” side of the balance so anyone without much infrastructure knowledge can follow along and share their awesome app to the world!
That means some of you are probably not going to be interested in the entire series. So here are a few pointers for different types of readers.
- Novice with little experience in servers. In that case, this series was tailored for you, my dear. Just follow along, episode by episode, and you’ll be just fine.
- I know about servers, I’m only here for Deployer. That’s fair enough, then you may skip the rest of this article and focus on these 3 episodes:
- I’ve got a Laravel Forge or Ploi account and I want to deploy using Deployer. Then, I’d still recommend reading episodes 3 to 5 but you may do this after reading the episode dedicated to your server management app.
Note that even if you have a Laravel Forge or Ploi account or if you know how to spin up your own server, you might still learn a thing or two by reading the whole series. We’re going to set up a lot of things including Nginx, HTTPS certificates, MySQL, Upgrading PHP, prettifying our server shell, and so on.
Anyhoo, you’ve been warned. Let’s get started!
The SSH key
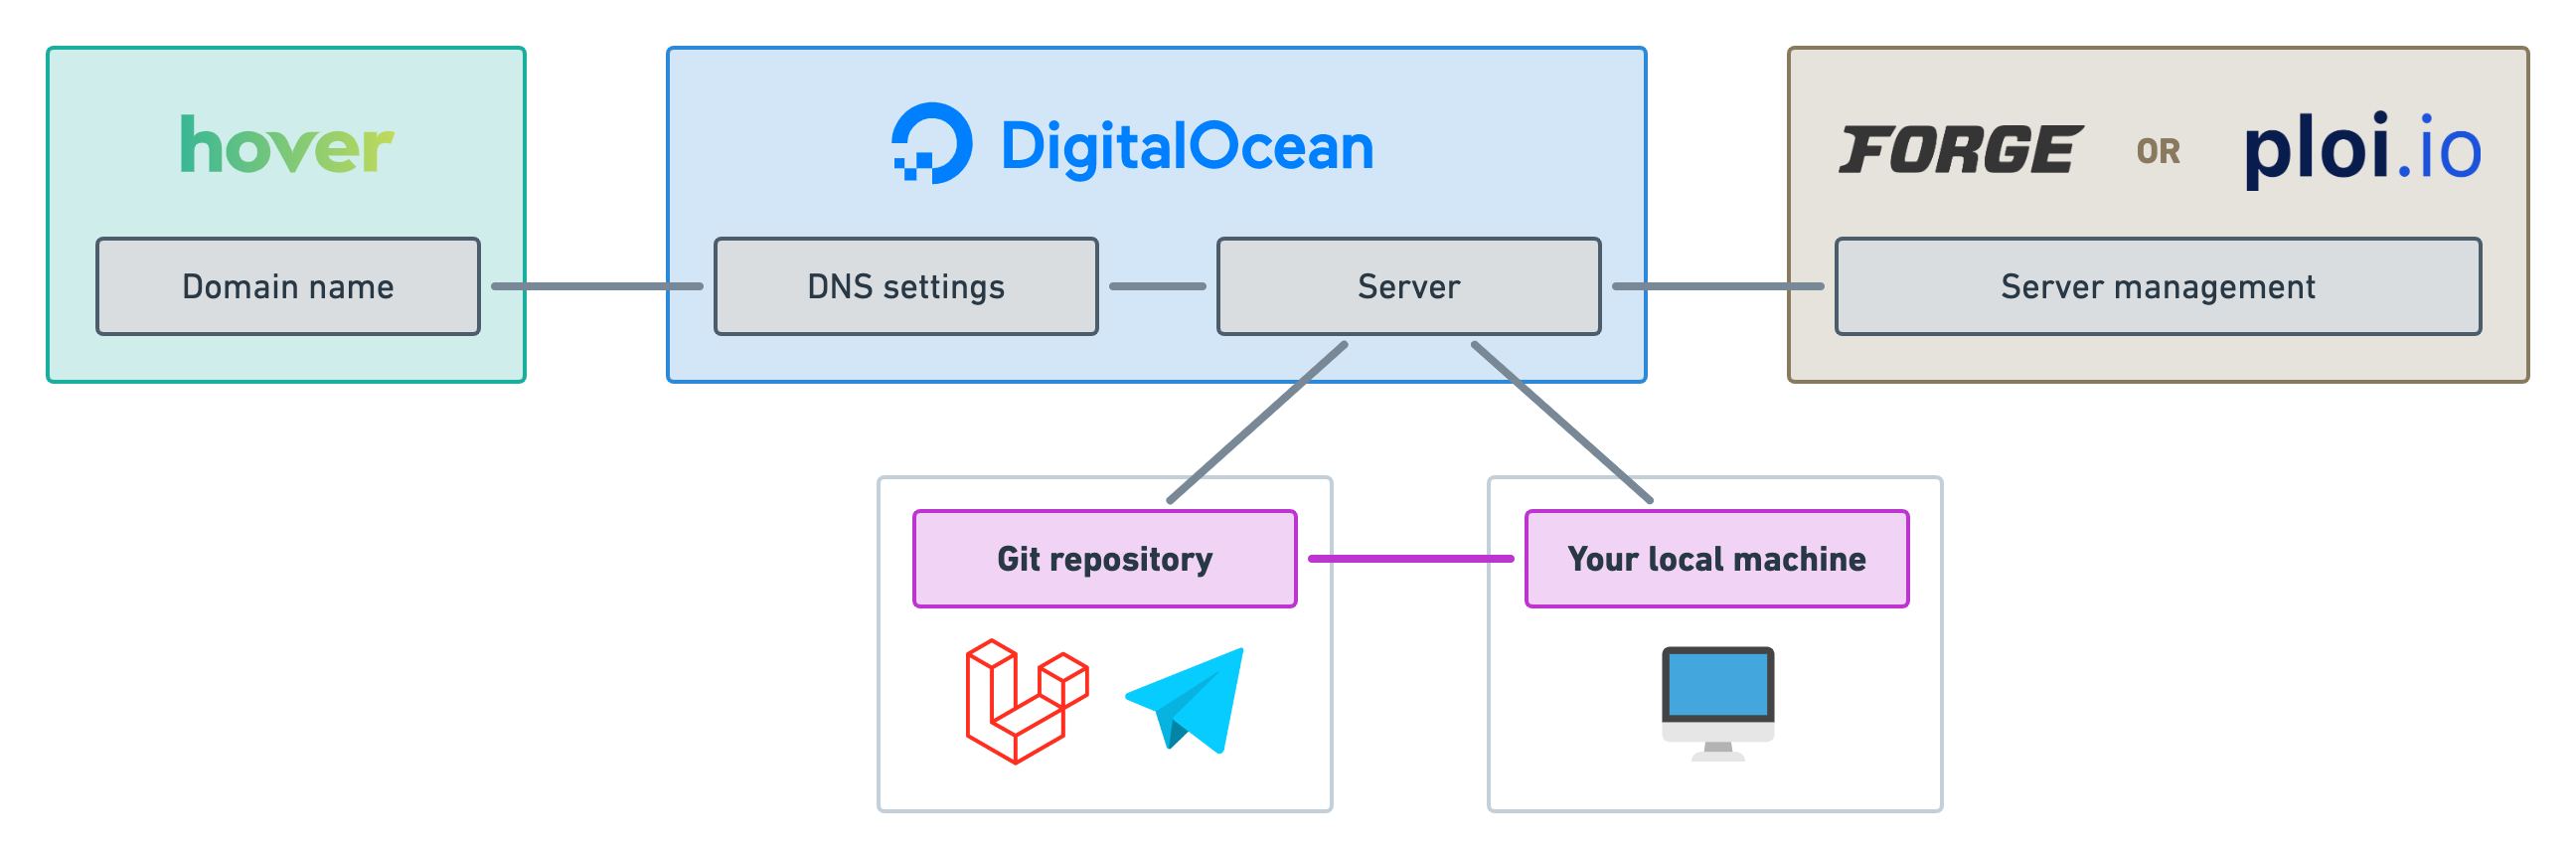
If you already have a git repository somewhere like on GitHub and you’re working on a local clone then you’ve likely already set up your SSH key and provided your public key to your git provider.
If that’s not your case, then we need to fix this now. Most of the connections you see on the “Big picture” diagram rely on secure SSH communication which means we’ve got to have an RSA key pair set up.
On most computers, you’d typically find your public and private keys under ~/.ssh/id_rsa.pub and ~/.ssh/id_rsa respectively. Make sure you never share the latter on any website, but you’ll need to provide the former to various places to prove you are who you say you are.
If you still don’t see a public or private key on your computer, you may follow this guide to create a pair.
For now, we just need to make sure our git provider — e.g. GitHub — knows our SSH public key. Otherwise, we won’t be able to clone and we won’t be able to deploy. Most git providers have a section on their settings where you can provide SSH keys. Here’s a guide for GitHub.
Okay, from now on, I’ll assume you have an SSH key available at ~/.ssh/id_rsa.pub. Keep that in mind as we’ll have to copy/paste it in more than one place.
The domain name
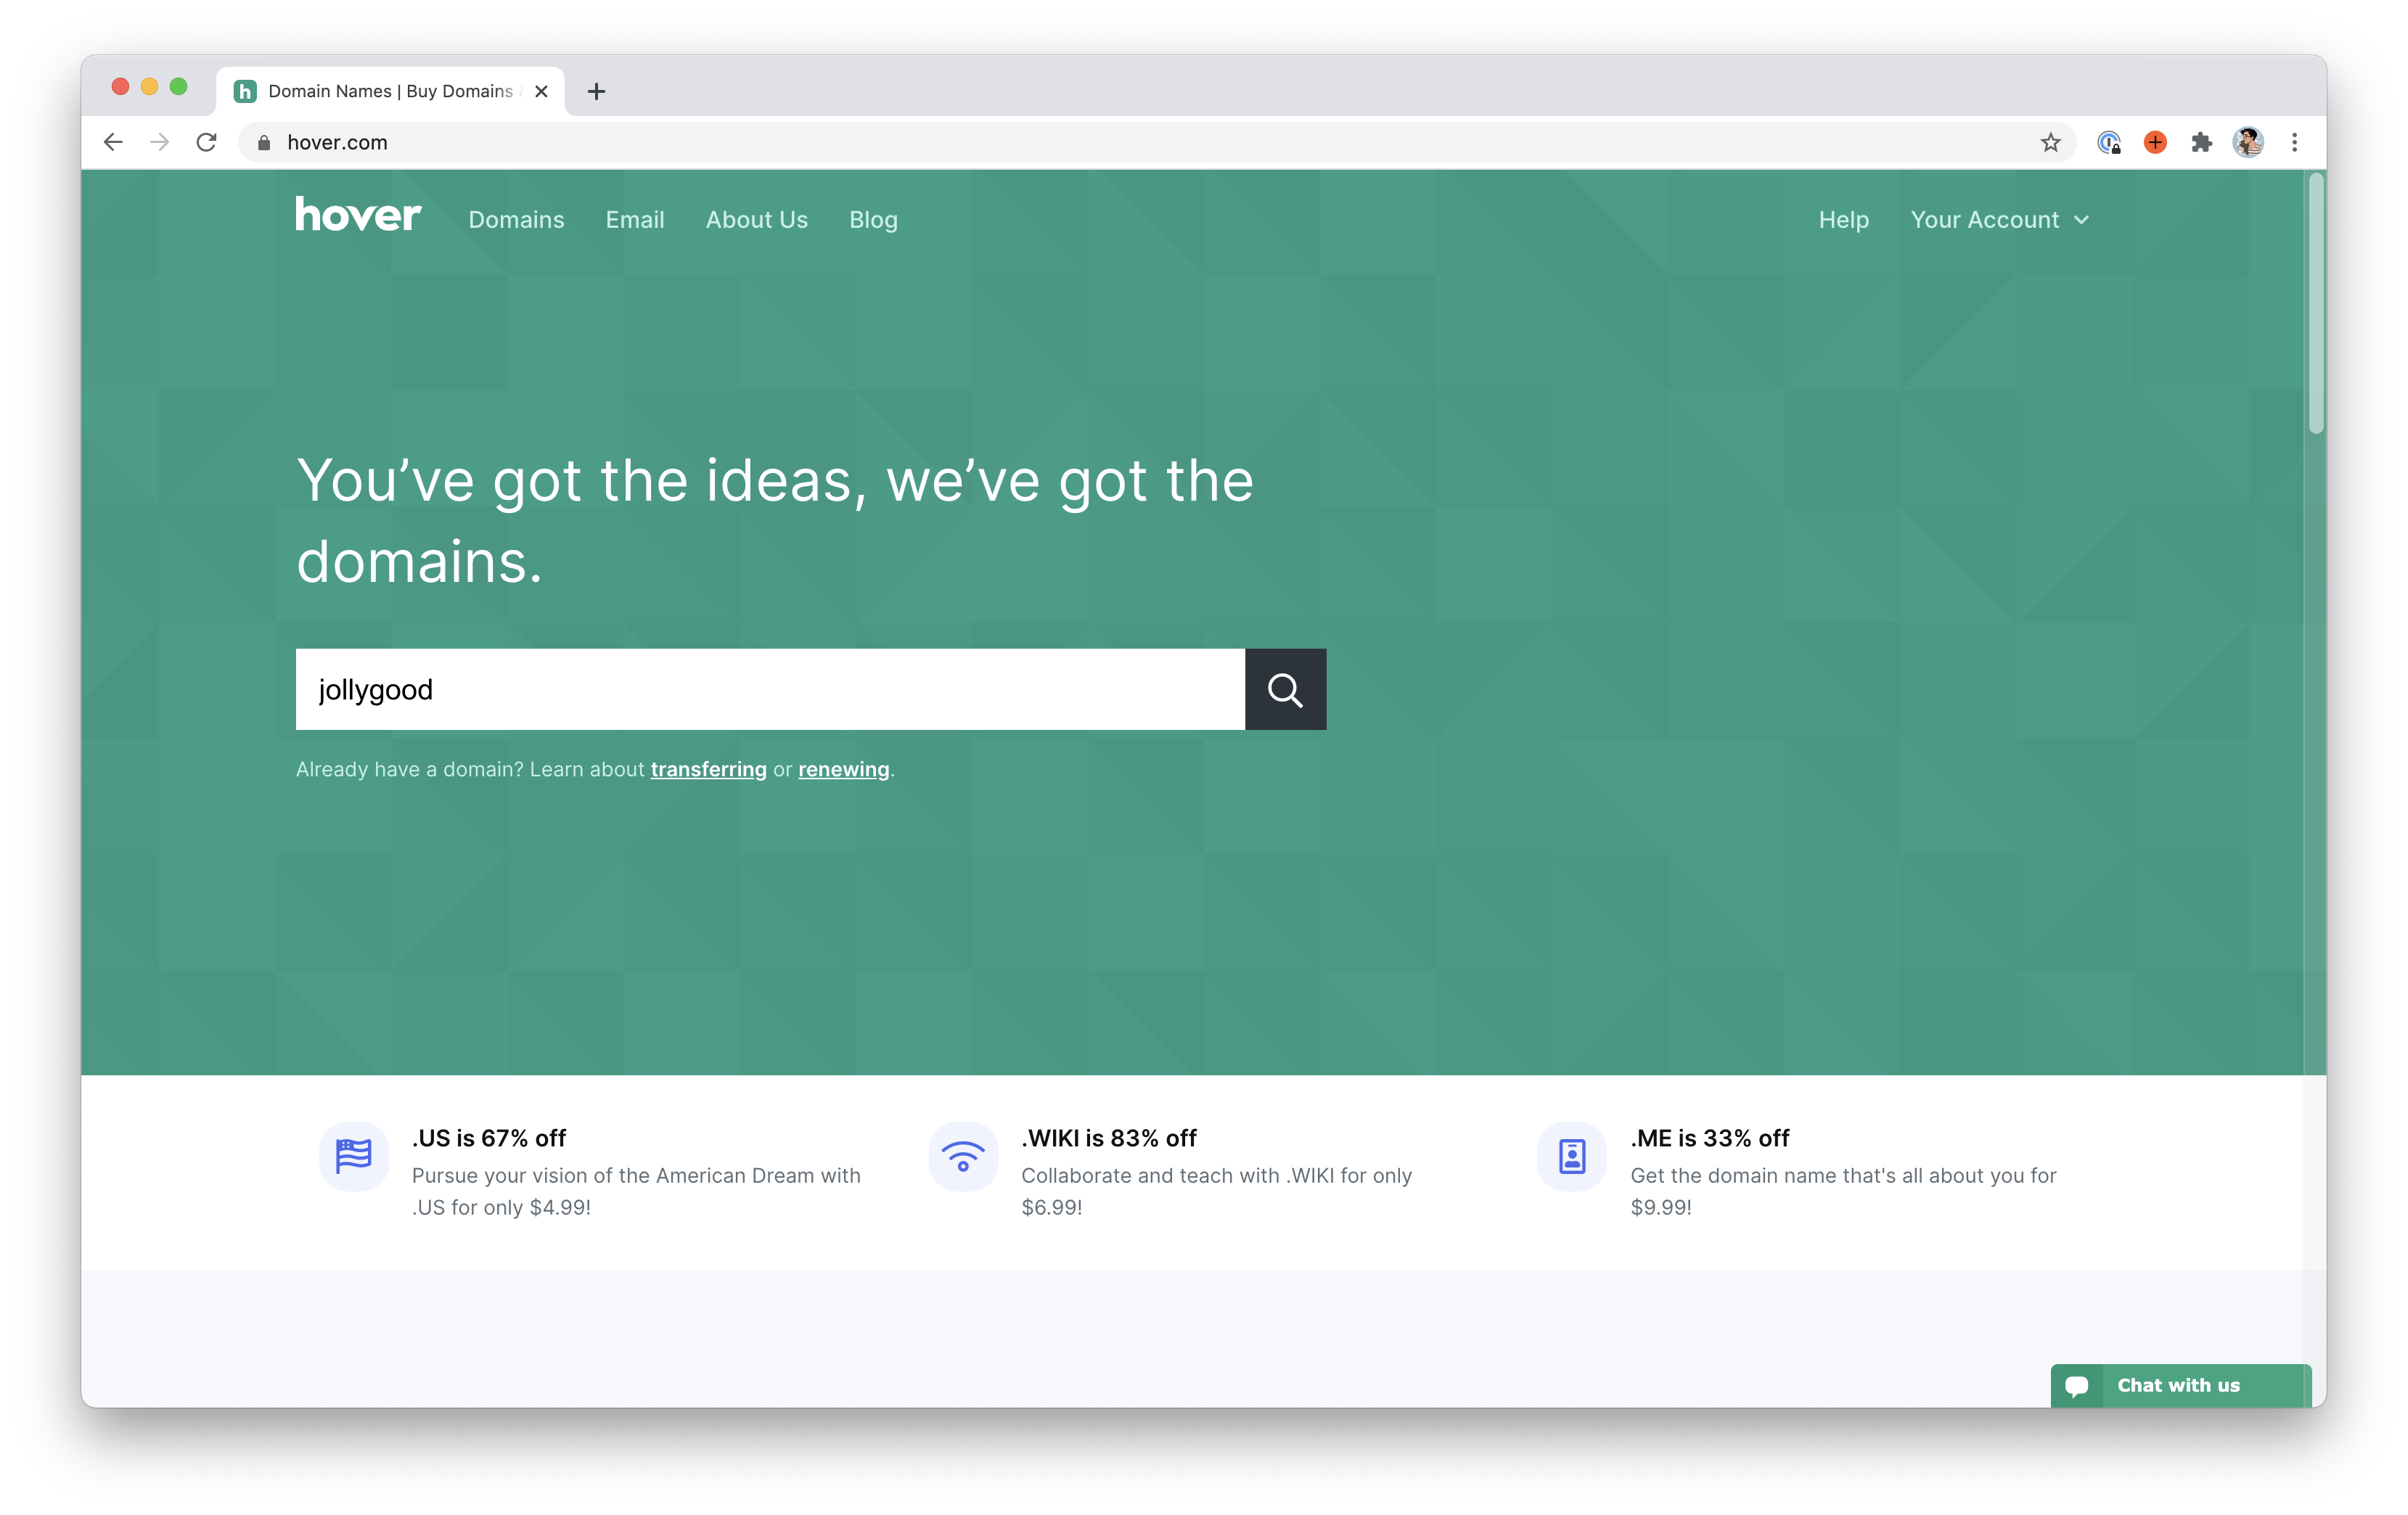
Next, let’s make sure we have a domain name ready for our app. Let’s give our application a jolly good name. We’ll call it jollygood.app! 🎩
To manage my domain names, I use Hover but feel free to use any of the millions of domain providers available out there.
If you do want to use Hover and don’t have an account yet, feel free to use my referral link here. It will give you a $2 discount on your first domain and it will give me a $2 credit on my account. Honestly, it’s such a pathetic referral system that I wouldn’t be offended if you decide not to use it out of protest. 😅
Okay, let’s type our domain name and purchase it.
Once purchased you should have access to its detail page where you can control its settings and DNS records.
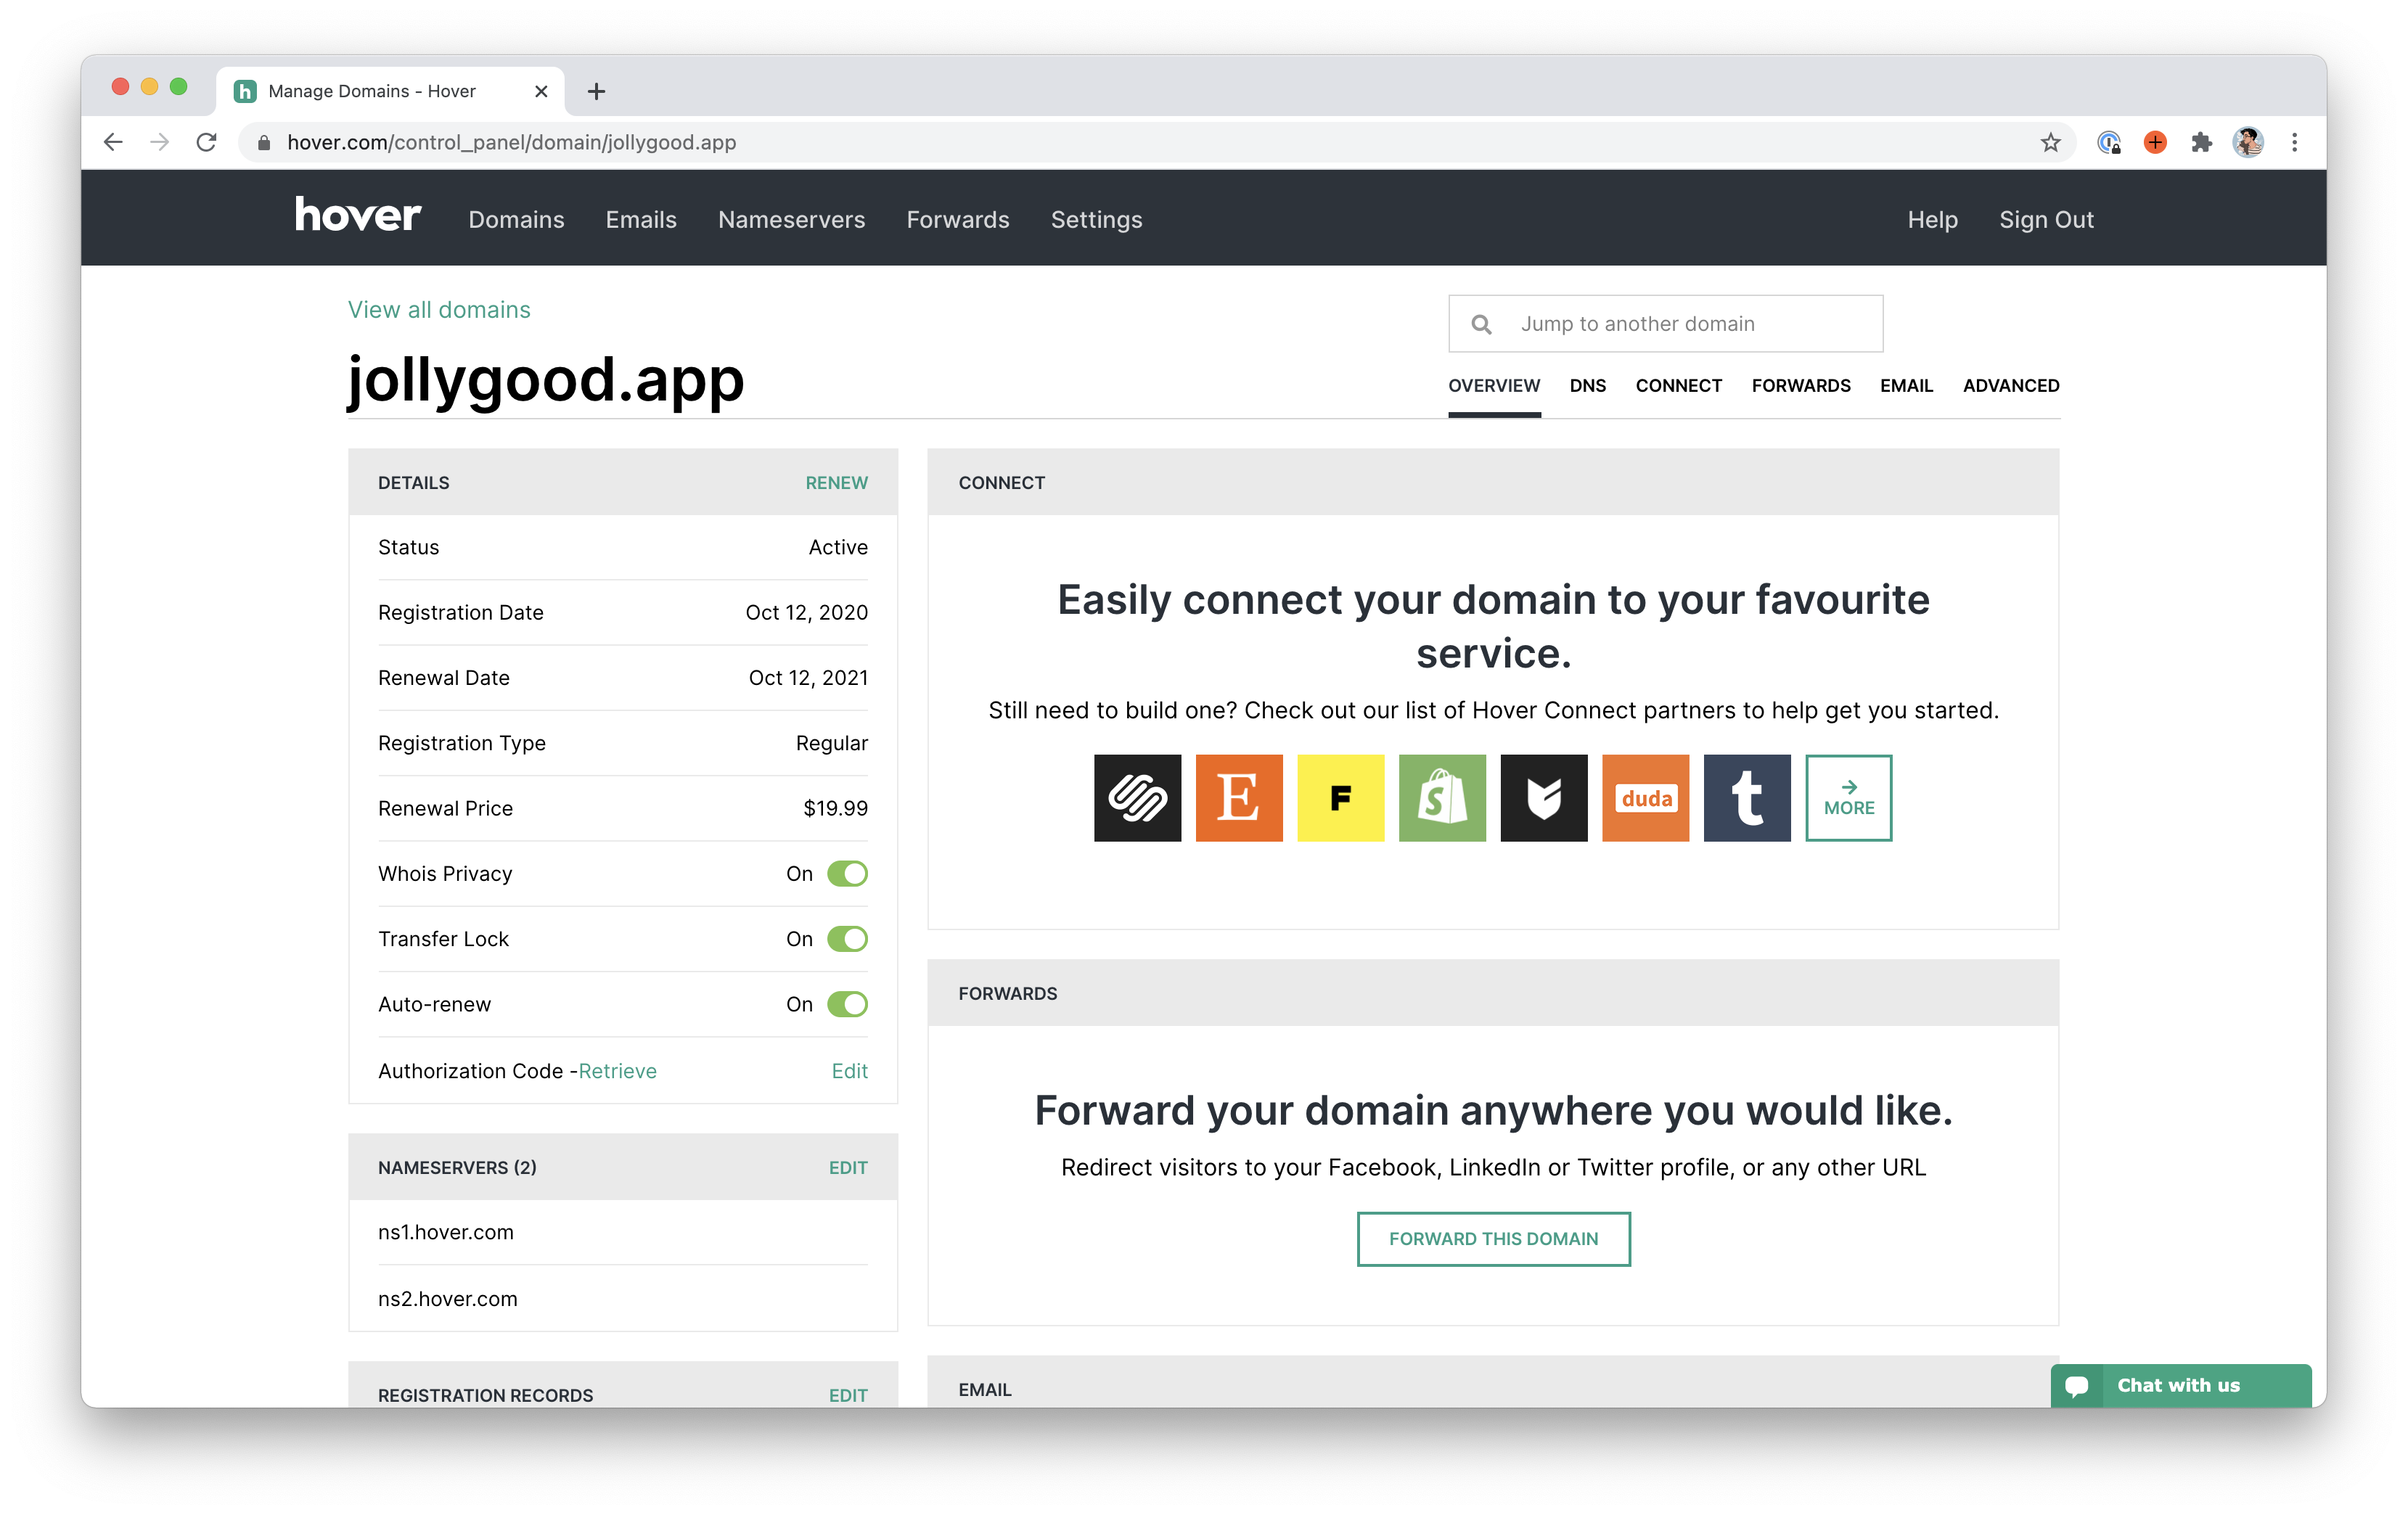
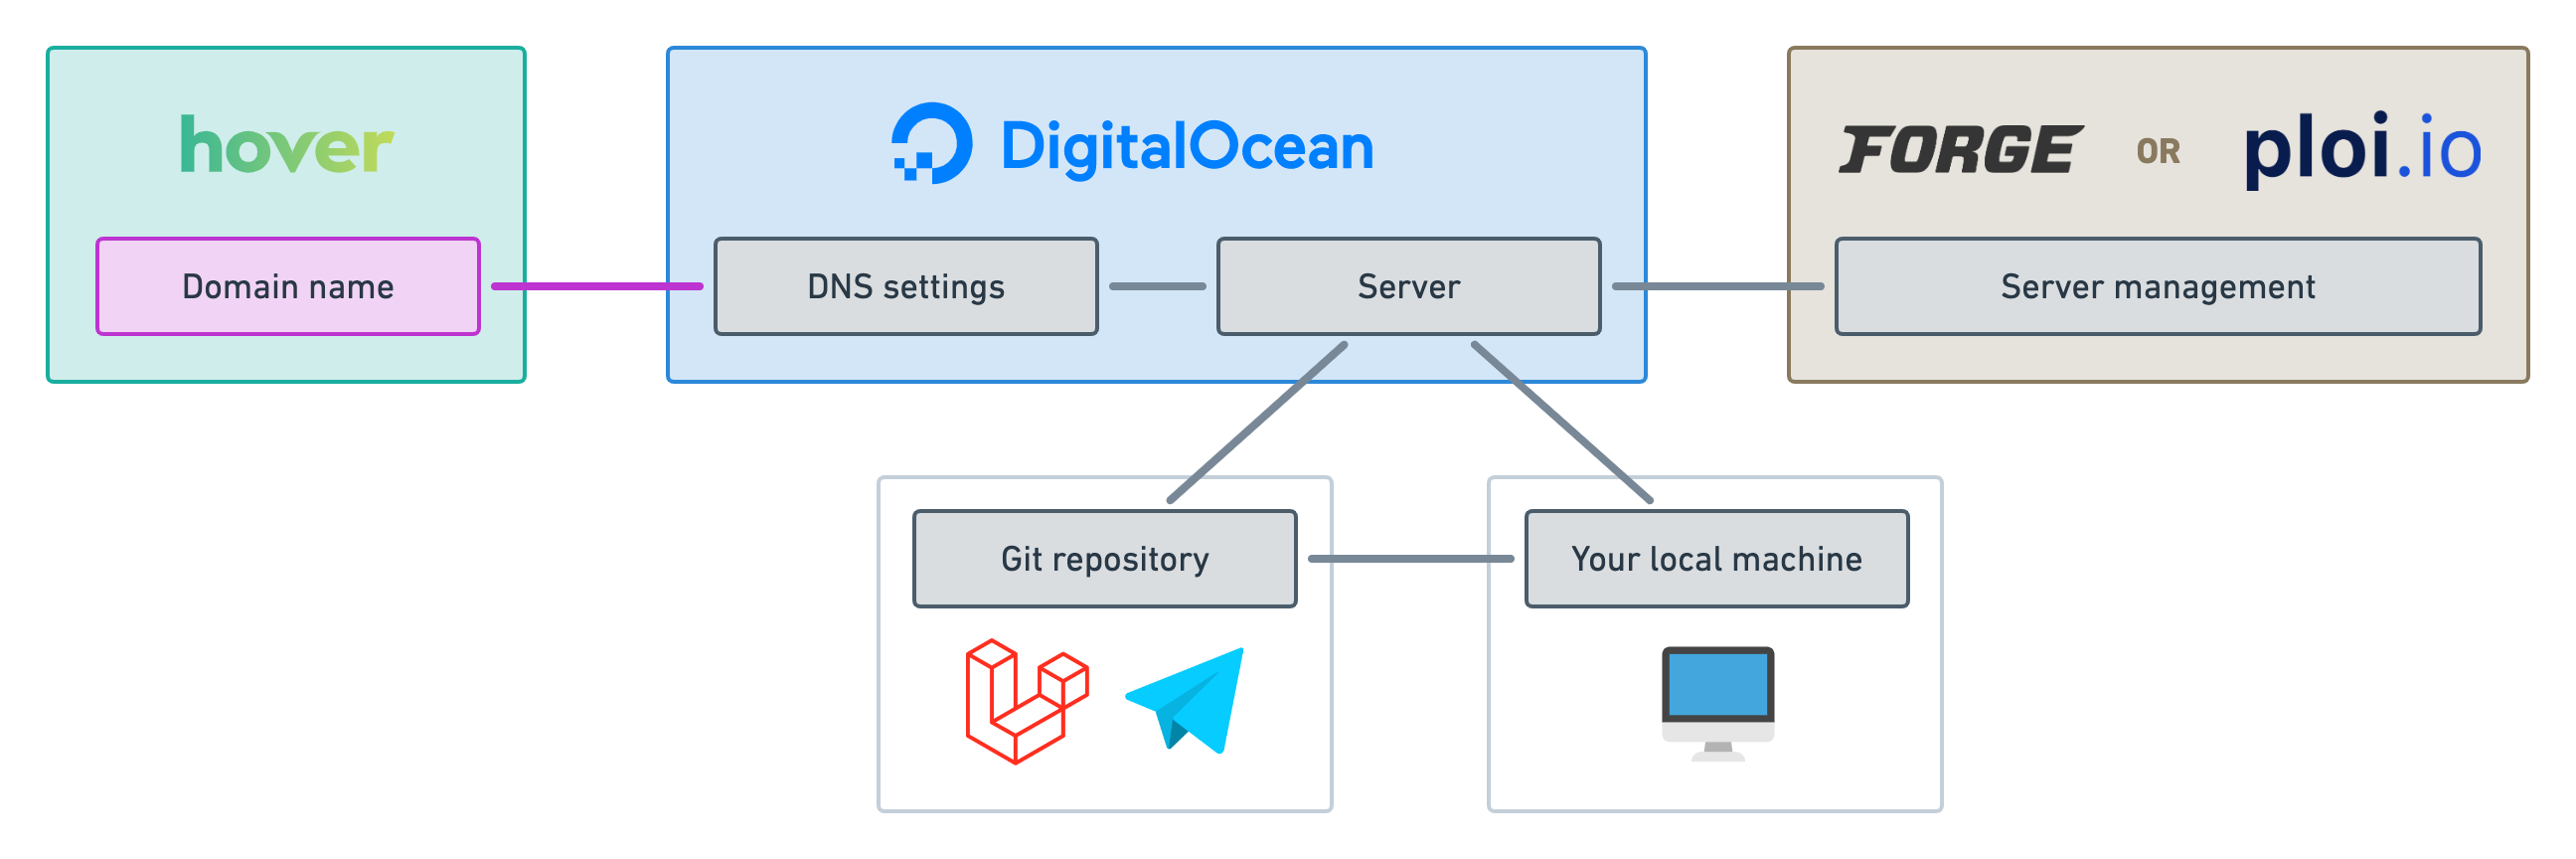
However, since we’ll be using Digital Ocean to create our server — spoiler alert — I’d rather maintain my DNS settings directly on Digital Ocean so we’ve got everything in one place. Also, I much prefer the user interface of Digital Ocean for managing DNS records.
To achieve this we need to tell Hover: “Hey, if anyone asks about that domain, tell them Digital Ocean is handling it”. Concretely, we do that by replacing the domain’s nameservers.
On Hover, you can do that directly on the domain’s detail page.
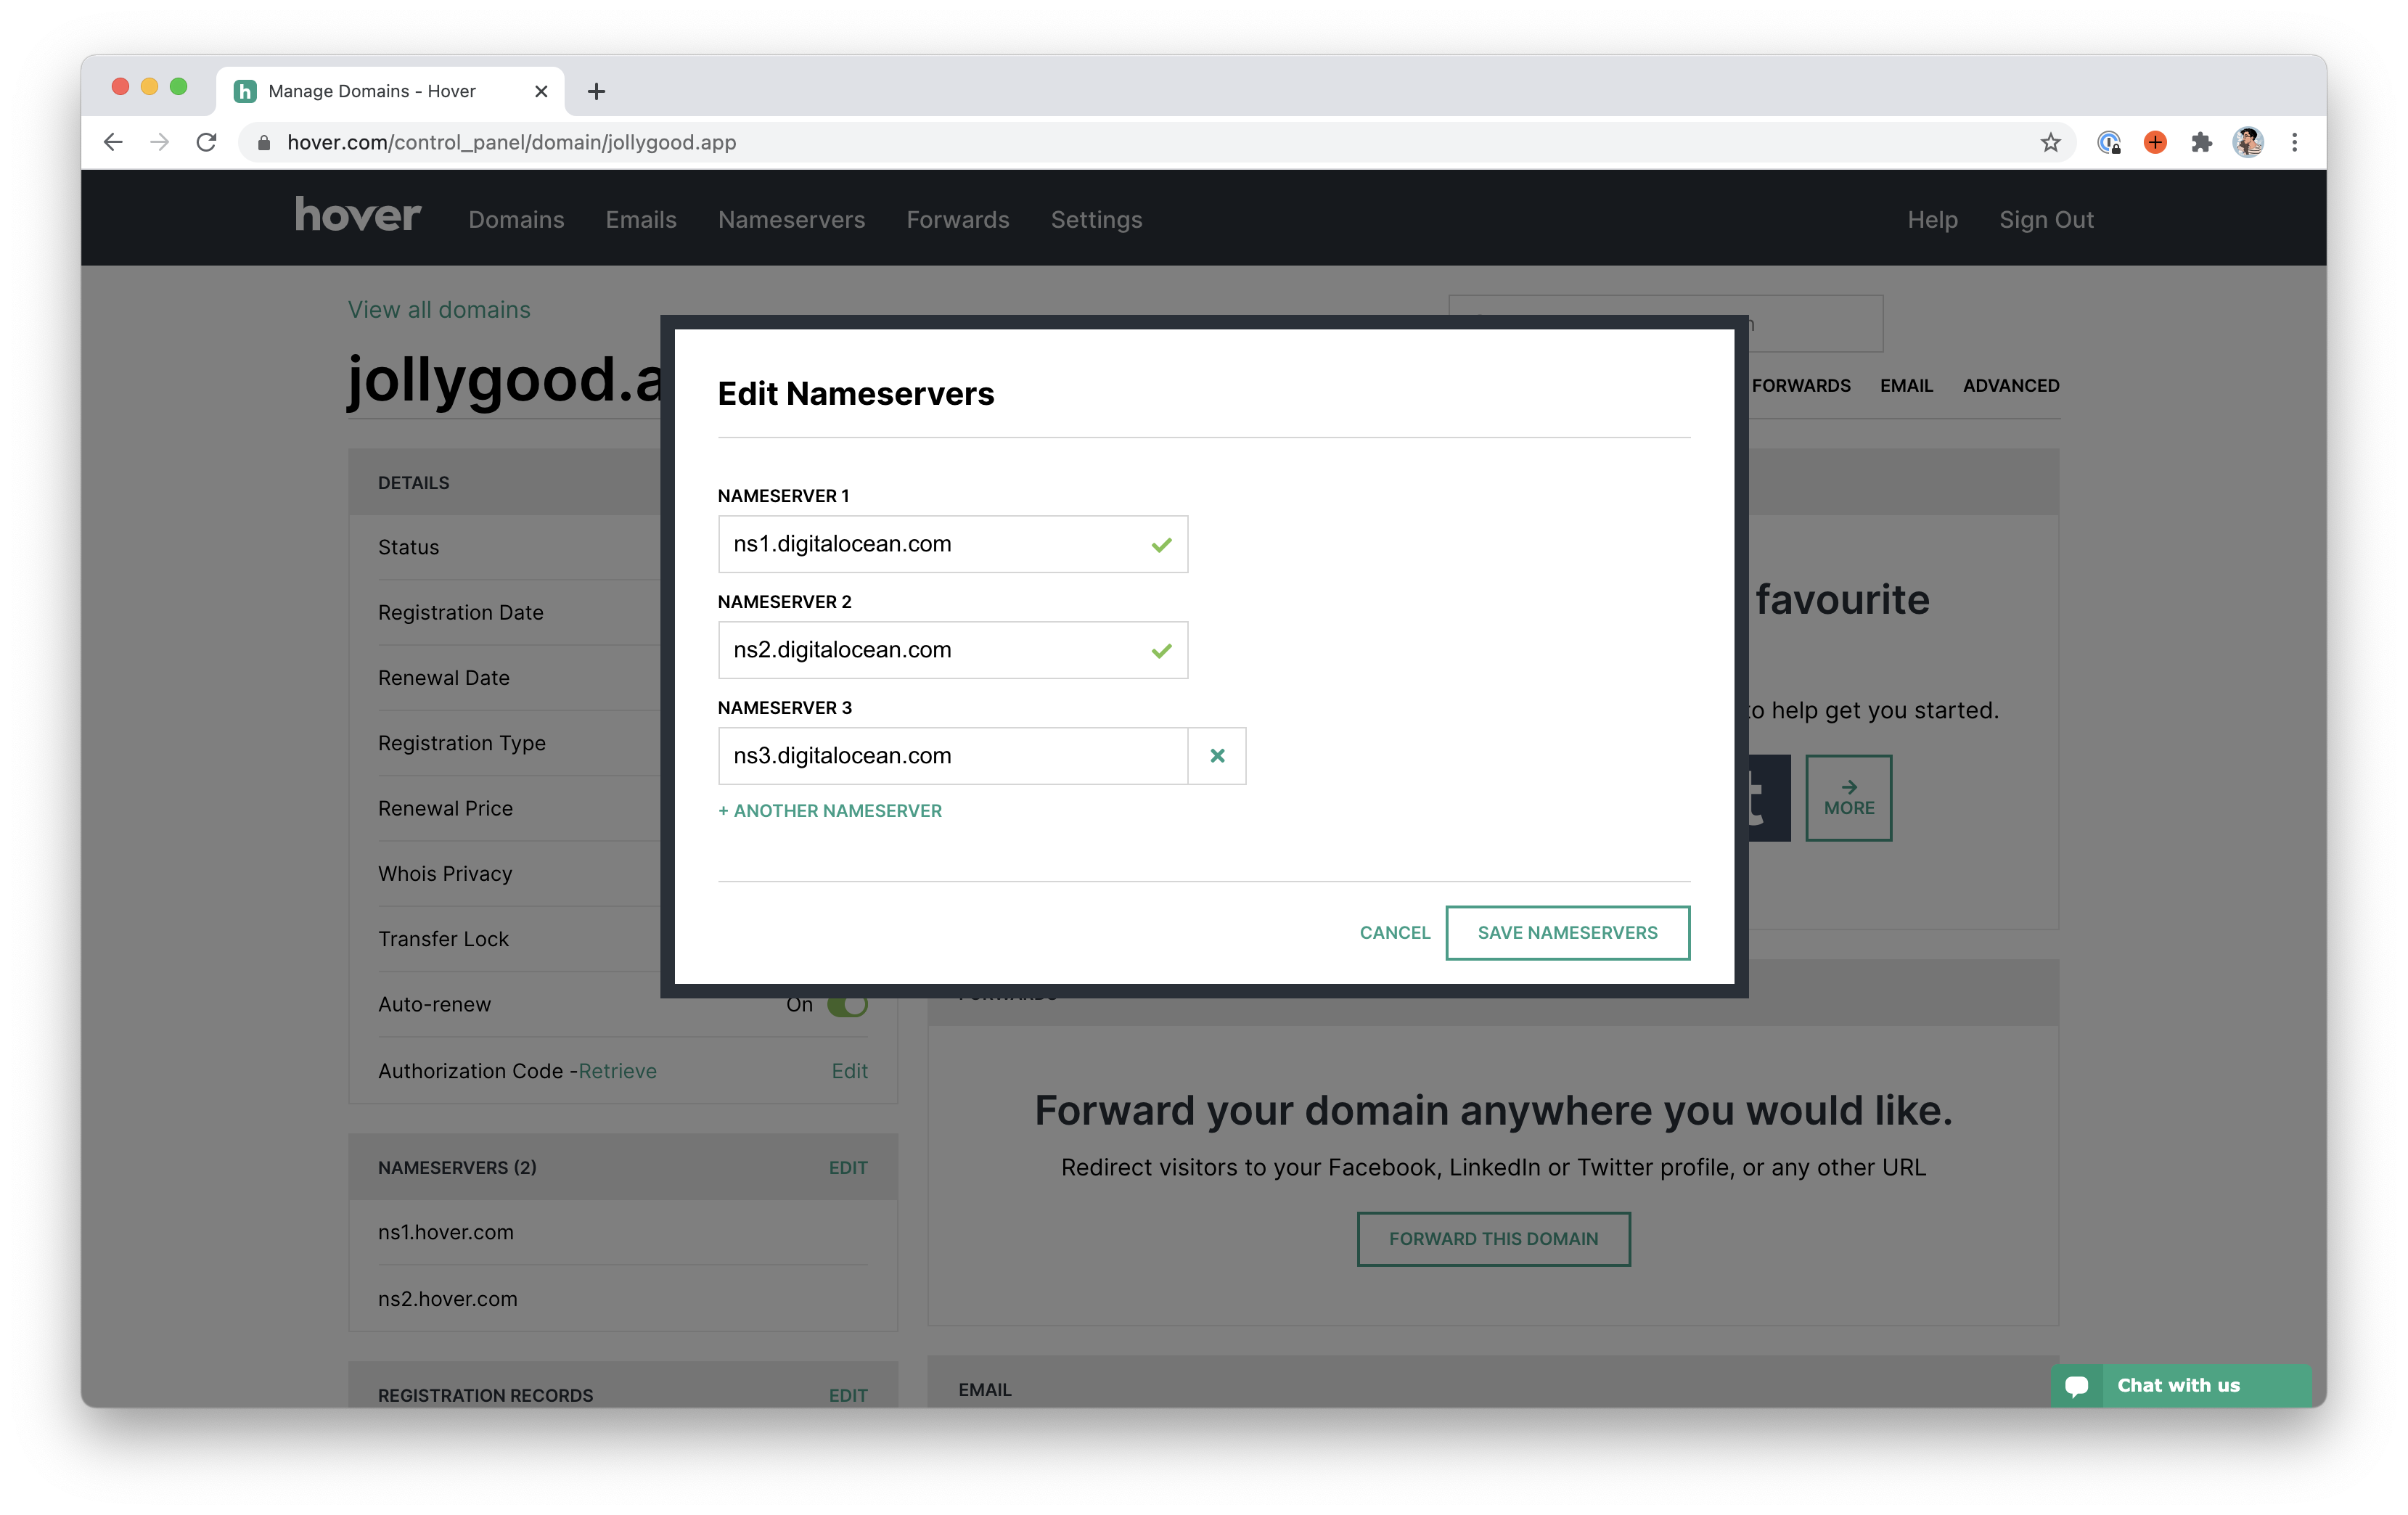
We simply need to replace the two nameservers from Hover with the three following nameservers from Digital Ocean.
ns1.digitalocean.com
ns2.digitalocean.com
ns3.digitalocean.com
Conclusion
Alrighty, that should do for our preparations.
Now that we’ve changed the nameservers to point to Digital Ocean, we can start configuring our DNS settings such that our purchased domain — jollygood.app — redirects to the IP address of our server.
However, at this point, we ain’t got no server. So let’s create one in the next episode!
Set up a server for Laravel applications