Fetching tweets in the frontend
In the previous episode, we’ve worked hard to allow users to connect their wallets and ended up with a program object from Anchor allowing us to interact with our Solana program. Now, it’s time to use that program to remove all the mock data and fetch real tweets from the blockchain.
Some of the work we’ll do in this article will be familiar because we’ve already seen how to fetch tweets from the blockchain when testing our Solana program.
Okay, let’s start the wiring!
Fetching all tweets
We’ll start simple, by fetching all existing tweets and displaying them on the home page.
Open the api/fetch-tweets.js file and paste the following code.
import { useWorkspace } from '@/composables'

export const fetchTweets = async () => {
    const { program } = useWorkspace()
    const tweets = await program.value.account.tweet.all();
    return tweets
}
A few things to notice here:
- First of all, we’re importing the
useWorkspacecomposable to access the workspace store. - Because we only need access to the
programobject from the workspace, we destructure it from the result ofuseWorkspace(). - We access the program using
program.valuebecauseprogramis a reactive variable and wrapped in aRefobject. - Finally, we access all
Tweetaccounts usingaccount.tweet.all()just like we did when we tested our program.
Okay, let’s try this in our PageHome.vue component. If you look inside the script part of the component, you'll notice we're already calling the fetchTweets api method and using its result to display tweets.
import { ref } from 'vue'
import { fetchTweets } from '@/api'
import TweetForm from '@/components/TweetForm'
import TweetList from '@/components/TweetList'

const tweets = ref([])
const loading = ref(true)
fetchTweets()
    .then(fetchedTweets => tweets.value = fetchedTweets)
    .finally(() => loading.value = false)

// ...
At this point, everything should be wired properly for our home page so let’s see if everything works.
First, you’ll need to start a new local validator. You may do this by running solana-test-validator in your terminal or, alternatively, by running anchor localnet which will also re-build and re-deploy your program.
For us to see some tweets in our application, we’ll need to have some Tweet accounts inside our local ledger. Fortunately for us, we know that running the tests will create 3 of them so let’s run anchor run test to add them to our local ledger.
Okay, now we have a running local ledger that contains 3 tweets in total. Therefore, we should see these tweets on the home page.
However, if you go to the home page and open the “Network” developer tools in your browser, you should see the following.
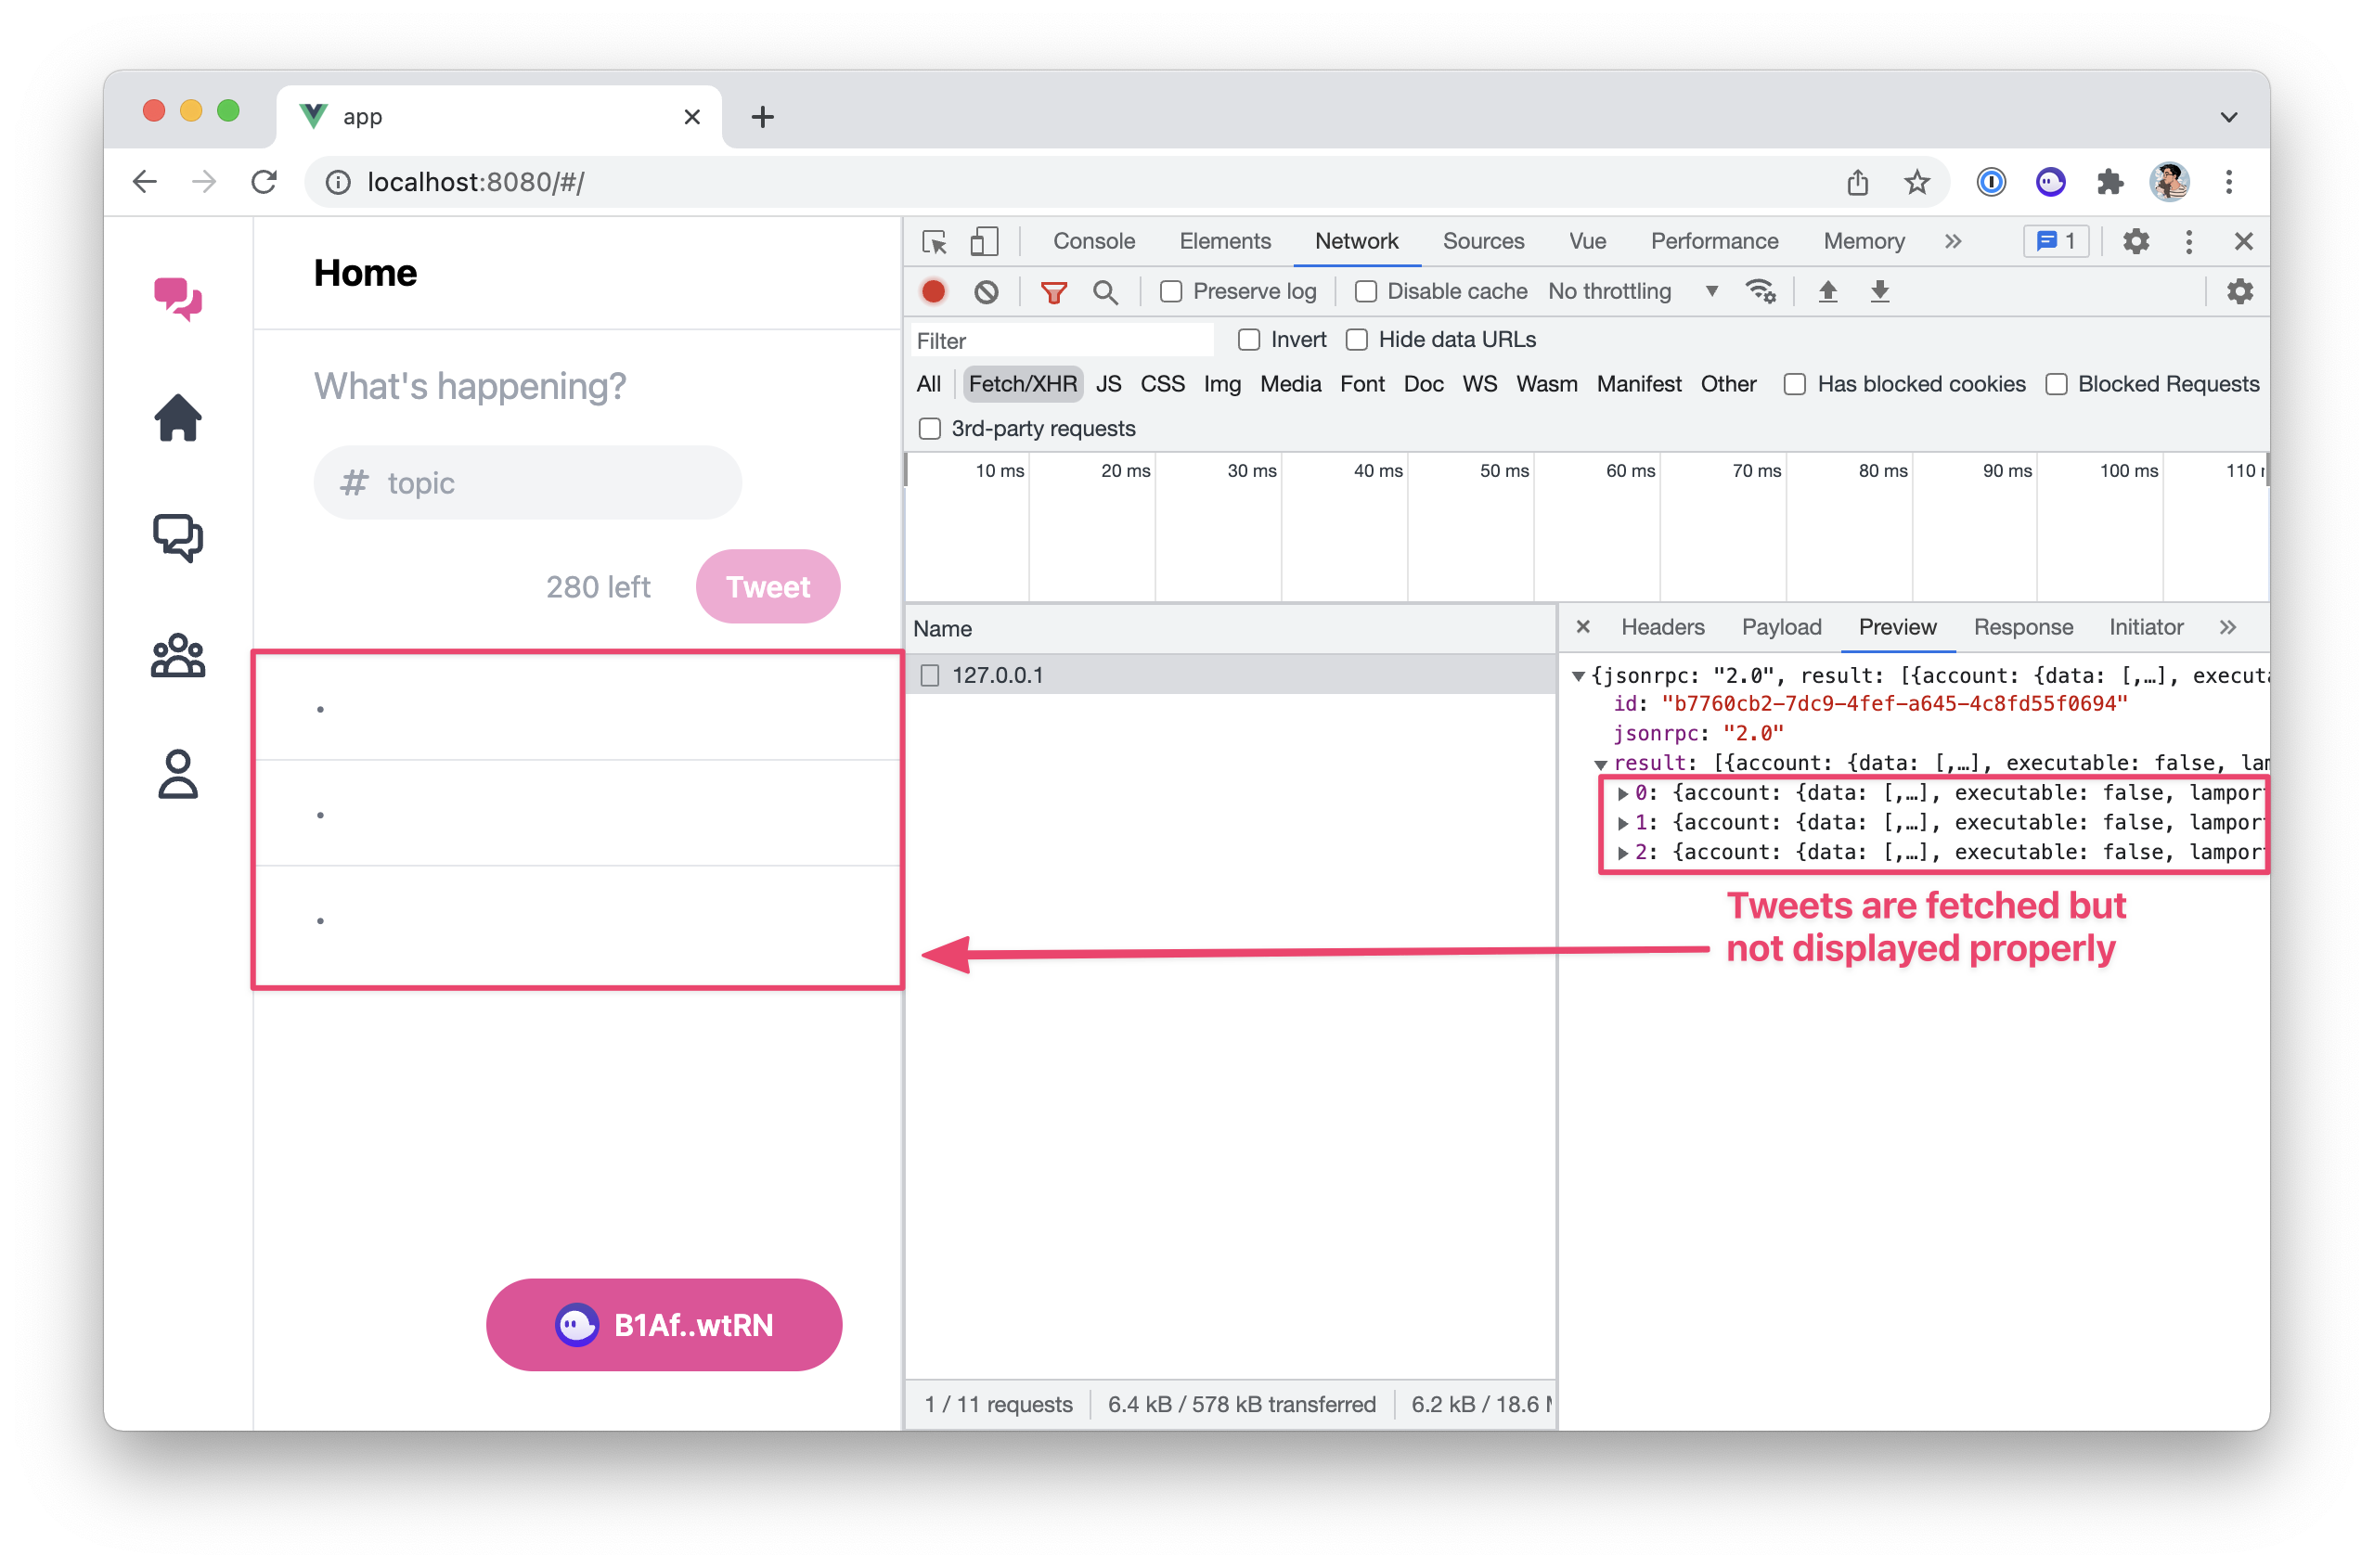
As we can see in the network tab, we are indeed getting 3 tweet accounts but they are not displayed properly on the home page.
That’s because our frontend is expecting to receive an object with a certain structure that doesn’t match what we get from the API call.
So instead of changing our entire frontend to accommodate for that structure, let’s create a new Tweet model that works for our frontend and abstracts the data received from the API.
The Tweet model
Inside the src folder of our frontend application, let’s create a new folder called models. Inside that new folder, we’ll add two files:
-
Tweet.js. This will structure our tweet accounts using aTweetclass. -
index.js. This will register theTweetmodel so we can import it like we import composables and API endpoints.
Once that folder and those two files are created, paste the following code inside the index.js file.
export * from './Tweet'
And paste the following inside the Tweet.js file.
export class Tweet
{
    constructor (publicKey, accountData) {
        this.publicKey = publicKey
        this.author = accountData.author
        this.timestamp = accountData.timestamp.toString()
        this.topic = accountData.topic
        this.content = accountData.content
    }
}
As you can see, to create a new Tweet object, we need to provide:
- A
publicKey, which will be an instance of Solana’sPublicKeyclass. - And an
accountDataobject, provided by the API endpoint.
When creating a new Tweet object, we store its public key and all of the properties inside the accountData object individually. That way we can access, say, the topic via tweet.topic. We also parse the timestamp into a string because the API endpoint gives us the timestamp as an array of bytes.
On top of these properties, our frontend relies on Tweet objects to have the following additional properties: key, author_display, created_at and created_ago.
Key
The key property should be a unique identifier that represents our tweet. It is used in some VueJS templates when looping through arrays of tweets. Since the public key is unique for each tweet, we’ll use its base-58 format to provide a unique string.
We’ll use a getter function to provide this key property. You can achieve this by adding the following getter at the end of the Tweet class.
export class Tweet
{
    // ...

    get key () {
        return this.publicKey.toBase58()
    }
}
Author display
Whilst we’ve already got access to the author’s public key through the author property, the frontend uses a condensed version of this address on the TweetCard.vue component as not to visually overwhelm the user.
This condensed version is quite simply the first 4 characters and the last 4 characters of the public key with a couple of dots in the middle.
Thus, let’s add another getter function called author_display and use the slice method to condense the author’s public key.
export class Tweet
{
    // ...

    get author_display () {
        const author = this.author.toBase58()
        return author.slice(0,4) + '..' + author.slice(-4)
    }
}
Created at and created ago
The last two properties we need are human-readable versions of the timestamp provided by our program. created_at should be a localised human-readable date including the time whereas created_ago should briefly describe how long ago the tweet was posted.
Fortunately, there are plenty of JavaScript libraries out there for manipulating dates. Moment.js is probably the most popular one but I’d say overkill for our purpose. Instead, I often prefer using Day.js which is super lightweight by default and extendable to fit our needs.
So let’s start by installing Day.js using npm.
npm install dayjs
Next, we need to import it and extend it slightly so it supports localised formats and relative times — used for created_at and created_ago respectively.
In your main.js file, add the following code after the “CSS” section.
// CSS.
import 'solana-wallets-vue/styles.css'
import './main.css'

// Day.js
import dayjs from 'dayjs'
import localizedFormat from 'dayjs/plugin/localizedFormat'
import relativeTime from 'dayjs/plugin/relativeTime'
dayjs.extend(localizedFormat)
dayjs.extend(relativeTime)

// ...
Now, back to our Tweet.js model, we can import Day.js and provide two getter functions for created_at and created_ago. Both of them can use dayjs.unix(this.timestamp) to convert our timestamp property into a Day.js object. Then, we can use the format('lll') and fromNow() methods to get a localised date and a relative time respectively.
We end up with the following Tweet.js model! 🎉
import dayjs from "dayjs"

export class Tweet
{
    constructor (publicKey, accountData) {
        this.publicKey = publicKey
        this.author = accountData.author
        this.timestamp = accountData.timestamp.toString()
        this.topic = accountData.topic
        this.content = accountData.content
    }

    get key () {
        return this.publicKey.toBase58()
    }

    get author_display () {
        const author = this.author.toBase58()
        return author.slice(0,4) + '..' + author.slice(-4)
    }

    get created_at () {
        return dayjs.unix(this.timestamp).format('lll')
    }

    get created_ago () {
        return dayjs.unix(this.timestamp).fromNow()
    }
}
Returning Tweet models
Now that our Tweet model is ready, let’s use it in our fetch-tweets.js API endpoint so that it returns Tweet objects instead of whatever the API returns.
For that, we can use map on the tweets array to transform each item inside it. As we’ve seen in a previous episode, the API returns an object containing a publicKey and an account object which is exactly what we need to create a new Tweet object.
import { useWorkspace } from '@/composables'
import { Tweet } from '@/models'

export const fetchTweets = async () => {
    const { program } = useWorkspace()
    const tweets = await program.value.account.tweet.all();
    return tweets.map(tweet => new Tweet(tweet.publicKey, tweet.account))
}
Right, at this point, we should see all tweets displaying properly on the home page. In the image below, I’ve also logged the return value of the fetchTweets method so we can make sure all our custom getters are working properly.

All good! let’s move on to the next task.
Add links in the tweet card
When viewing the tweets on the home page, you might have noticed that each tweet contains 3 links:
- One on the author’s address that should take you to this author’s page.
- One on the tweet’s time that should take you to a page that only shows that tweet so users can share it.
- One on the tweet’s topic that should take you to this topic’s page.
However, if you try to click on them, they will always send you to the home page. That’s simply because these links are not yet implemented and that’s what we are going to do now.
If you have a look inside the TweetCard.vue component, you should see a few comments on the template that look like this: <!-- TODO: Link to ... -->. So let’s tackle each of these comments one by one, starting with the author’s link.
The author’s link
This link is slightly more complicated than the others because the route it directs to depends on whether it’s one of our tweets or not. By that I mean, if we click on our own address it should direct us to the profile page, whereas, if we click on the address of someone else, it should take us to the users page with the address already pre-filled.
Therefore, we’re going to create a computed property called authorRoute that will use the connected wallet to figure out which route we should be directed to.
Update the script part of the TweetCard.vue component, with the following lines.
import { toRefs, computed } from 'vue'
import { useWorkspace } from '@/composables'

const props = defineProps({
    tweet: Object,
})

const { tweet } = toRefs(props)
const { wallet } = useWorkspace()
const authorRoute = computed(() => {
    if (wallet.value && wallet.value.publicKey.toBase58() === tweet.value.author.toBase58()) {
        return { name: 'Profile' }
    } else {
        return { name: 'Users', params: { author: tweet.value.author.toBase58() } }
    }
})
Let’s go through that piece of code:
- We start by importing the
computedmethod from VueJS that we’ll use to create ourauthorRoutecomputed property. - We also import our workspace via the
useWorkspacecomposable and access the connectedwalletfrom it. - Inside the computed method, we first check if the tweet’s author has the same public key as the connected wallet.
- If that’s the case, we simply redirect to the profile page by returning
{ name: 'Profile' }. In Vue Router, that's how you can identify a route named “Profile”. - Otherwise, we need to redirect the user to the “users page” whilst also pre-filling its address with the tweet’s author. In Vue Router, we can provide route parameters via a
paramsobject. Thus, we can access the “Users” page of the tweet’s author by returning:{ name: 'Users', params: { author: tweet.value.author.toBase58() } }
Now that our authorRoute computed property is available, we can give it to the relevant <router-link> component and remove the comment above.
- <!-- TODO: Link to author page or the profile page if it's our own tweet. -->
- <router-link :to="{ name: 'Home' }" class="hover:underline">
+ <router-link :to="authorRoute" class="hover:underline">
      {{ tweet.author_display }}
  </router-link>
The tweet’s link
Next, let’s implement the link to the tweet page. For that, we can use the base-58 format of the tweet’s public key as a parameter of the Tweet route. We end up with the following route object.
{ name: 'Tweet', params: { tweet: tweet.publicKey.toBase58() } }
This time, we can use this object directly inside the appropriate <router-link> without the need for a new variable.
- <!-- TODO: Link to the tweet page. -->
- <router-link :to="{ name: 'Home' }" class="hover:underline">
+ <router-link :to="{ name: 'Tweet', params: { tweet: tweet.publicKey.toBase58() } }" class="hover:underline">
      {{ tweet.created_ago }}
  </router-link>
The topic’s link
Finally, we need to implement the link to the topics page. Similarly to the previous links, we can pass the topic as a parameter of the Topics route and end up with the following route object…
{ name: 'Topics', params: { topic: tweet.topic } }
…which we can use directly in the final <router-link> that needs updating.
- <!-- TODO: Link to the topic page. -->
- <router-link v-if="tweet.topic" :to="{ name: 'Home' }" class="inline-block mt-2 text-pink-500 hover:underline">
+ <router-link v-if="tweet.topic" :to="{ name: 'Topics', params: { topic: tweet.topic } }" class="inline-block mt-2 text-pink-500 hover:underline">
      {{ tweet.created_ago }}
  </router-link>
And just link that, our TweetCard.vue component is complete and all of its links are pointing to the right places.
However, if we try to click on these links, they will always show all tweets ever created because that's what our fetchTweets method currently does.
So let’s fix this. We’ll start with the Topics and Users pages. Both of these pages will need access to all tweets from our program that match a certain criterion. However, our fetchTweets API endpoint does not support filters yet. Therefore, we’ve got to sort this out first.
Supporting filters
Since we’ve already seen how to filter accounts in Solana, supporting filters in our API endpoint should be nice and easy.
The first thing we need to do is add a new filters parameter to the fetchTweets method of our fetch-tweets.js file, allowing us to optionally provide filters when fetching tweets.
import { useWorkspace } from '@/composables'
import { Tweet } from '@/models'

export const fetchTweets = async (filters = []) => {
    const { program } = useWorkspace()
    const tweets = await program.value.account.tweet.all(filters);
    return tweets.map(tweet => new Tweet(tweet.publicKey, tweet.account))
}
Now, writing Solana filters can be a little tedious and having that logic scattered everywhere in our components might not be ideal to maintain. It would be nice if we could offer some helper methods that would generate filters so our components can use these methods instead of generating filters themselves. So let’s do that!
We’ll start by exporting an authorFilter function that accepts a public key in base 58 format and returns the appropriate memcmp filter as we’ve seen in episode 5 of this series.
Here’s said function that you can now add at the end of your fetch-tweets.js file.
export const authorFilter = authorBase58PublicKey => ({
    memcmp: {
        offset: 8, // Discriminator.
        bytes: authorBase58PublicKey,
    }
})
Next, we’ll do the same for topics by exporting a topicFilter function that accepts a topic as a string and returns a memcmp filter that encodes the topic properly and provides the right offset for it.
Add the following topicFilter function at the end of your fetch-tweets.js file and don’t forget to import the bs58 library so it can encode the given topic string into a base 58 formatted array of bytes.
import { useWorkspace } from '@/composables'
import { Tweet } from '@/models'
import bs58 from 'bs58'

// ...

export const topicFilter = topic => ({
    memcmp: {
        offset: 8 + // Discriminator.
            32 + // Author public key.
            8 + // Timestamp.
            4, // Topic string prefix.
        bytes: bs58.encode(Buffer.from(topic)),
    }
})
If you’re wondering why we’re using this particular offset, it is for the exact same reasons we described in episode 5 when filtering tweets by topics in our tests.
And that’s it! We now have a fetchTweets endpoint that not only supports filters but also makes it super easy for our components to use them. Your final fetch-tweets.js file should look like this.
import { useWorkspace } from '@/composables'
import { Tweet } from '@/models'
import bs58 from 'bs58'

export const fetchTweets = async (filters = []) => {
    const { program } = useWorkspace()
    const tweets = await program.value.account.tweet.all(filters);
    return tweets.map(tweet => new Tweet(tweet.publicKey, tweet.account))
}

export const authorFilter = authorBase58PublicKey => ({
    memcmp: {
        offset: 8, // Discriminator.
        bytes: authorBase58PublicKey,
    }
})

export const topicFilter = topic => ({
    memcmp: {
        offset: 8 + // Discriminator.
            32 + // Author public key.
            8 + // Timestamp.
            4, // Topic string prefix.
        bytes: bs58.encode(Buffer.from(topic)),
    }
})
Our components can now use this API endpoint to fetch and filter tweets like this.
import { fetchTweets, authorFilter, topicFilter } from '@/api'

// Fetch all tweets.
const allTweets = await fetchTweets()

// Filter tweets by author.
const myTweets = await fetchTweets([
    authorFilter('B1AfN7AgpMyctfFbjmvRAvE1yziZFDb9XCwydBjJwtRN'),
])

// Filter tweets by topic.
const solanaTweets = await fetchTweets([
    topicFilter('solana'),
])

// Filter tweets by author and topic.
const mySolanaTweets = await fetchTweets([
    authorFilter('B1AfN7AgpMyctfFbjmvRAvE1yziZFDb9XCwydBjJwtRN'),
    topicFilter('solana'),
])
Noice! Let’s use that new shiny API endpoint on our Topics and Users pages.
Fetching tweets by topic
Inside our PageTopics.vue component, let’s import the topicFilter helper in addition to the already imported fetchTweets method.
import { ref } from 'vue'
import { useRouter } from 'vue-router'
import { fetchTweets, topicFilter } from '@/api'
import { useSlug, useFromRoute } from '@/composables'
import TweetForm from '@/components/TweetForm'
import TweetList from '@/components/TweetList'
import TweetSearch from '@/components/TweetSearch'
Next, let’s scroll down a bit and provide the appropriate parameter to the fetchTweet method. Here, we’ll use the value of the slugTopic computed property as a topic to use for filtering tweets.
const fetchTopicTweets = async () => {
    if (slugTopic.value === viewedTopic.value) return
    try {
        loading.value = true
        const fetchedTweets = await fetchTweets([topicFilter(slugTopic.value)])
        tweets.value = fetchedTweets
        viewedTopic.value = slugTopic.value
    } finally {
        loading.value = false
    }
}
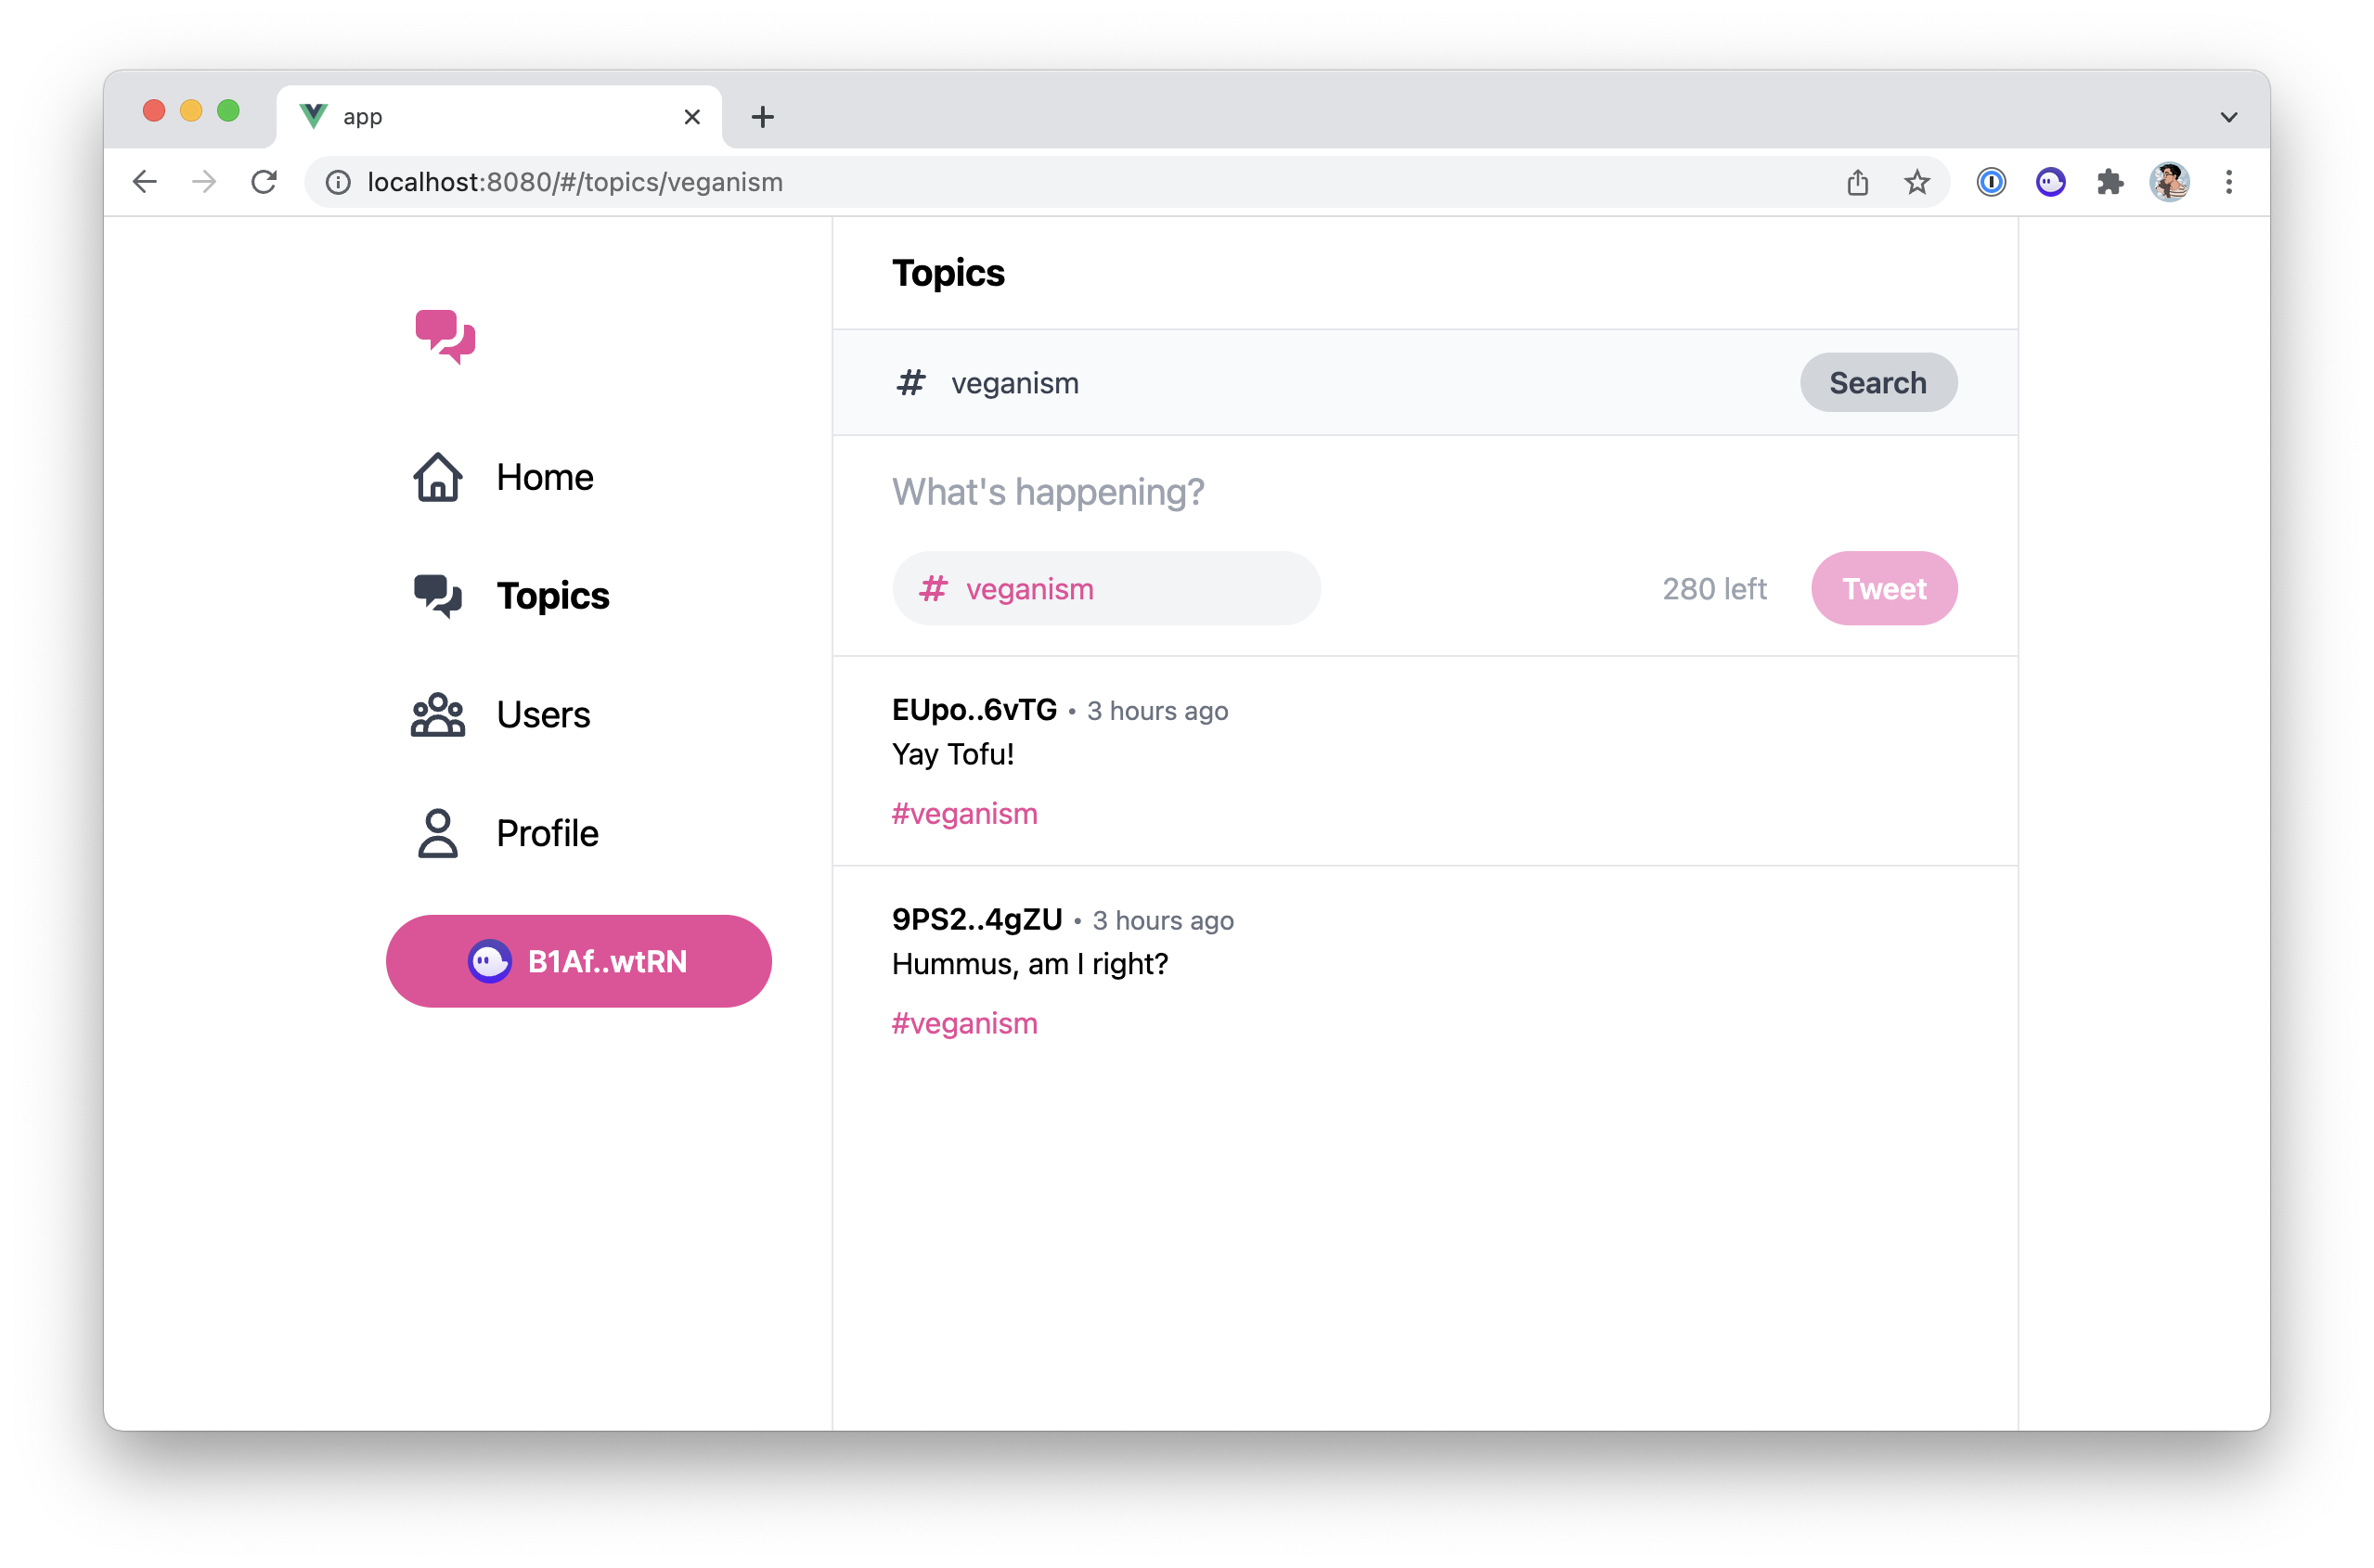
Topics page… Done! ✅
You should now be able to click on a topic’s link and view all tweets from that topic.
Fetching tweets by author
Let’s do the same for our PageUsers.vue component.
Similarly, we import the authorFilter function next to the fetchTweets function.
import { ref } from 'vue'
import { useRouter } from 'vue-router'
import { fetchTweets, authorFilter } from '@/api'
import { useFromRoute } from '@/composables'
import TweetList from '@/components/TweetList'
import TweetSearch from '@/components/TweetSearch'
Next, we provide an authorFilter using the author property to the first parameter of the fetchTweets function.
const fetchAuthorTweets = async () => {
    if (author.value === viewedAuthor.value) return
    try {
        loading.value = true
        const fetchedTweets = await fetchTweets([authorFilter(author.value)])
        tweets.value = fetchedTweets
        viewedAuthor.value = author.value
    } finally {
        loading.value = false
    }
}
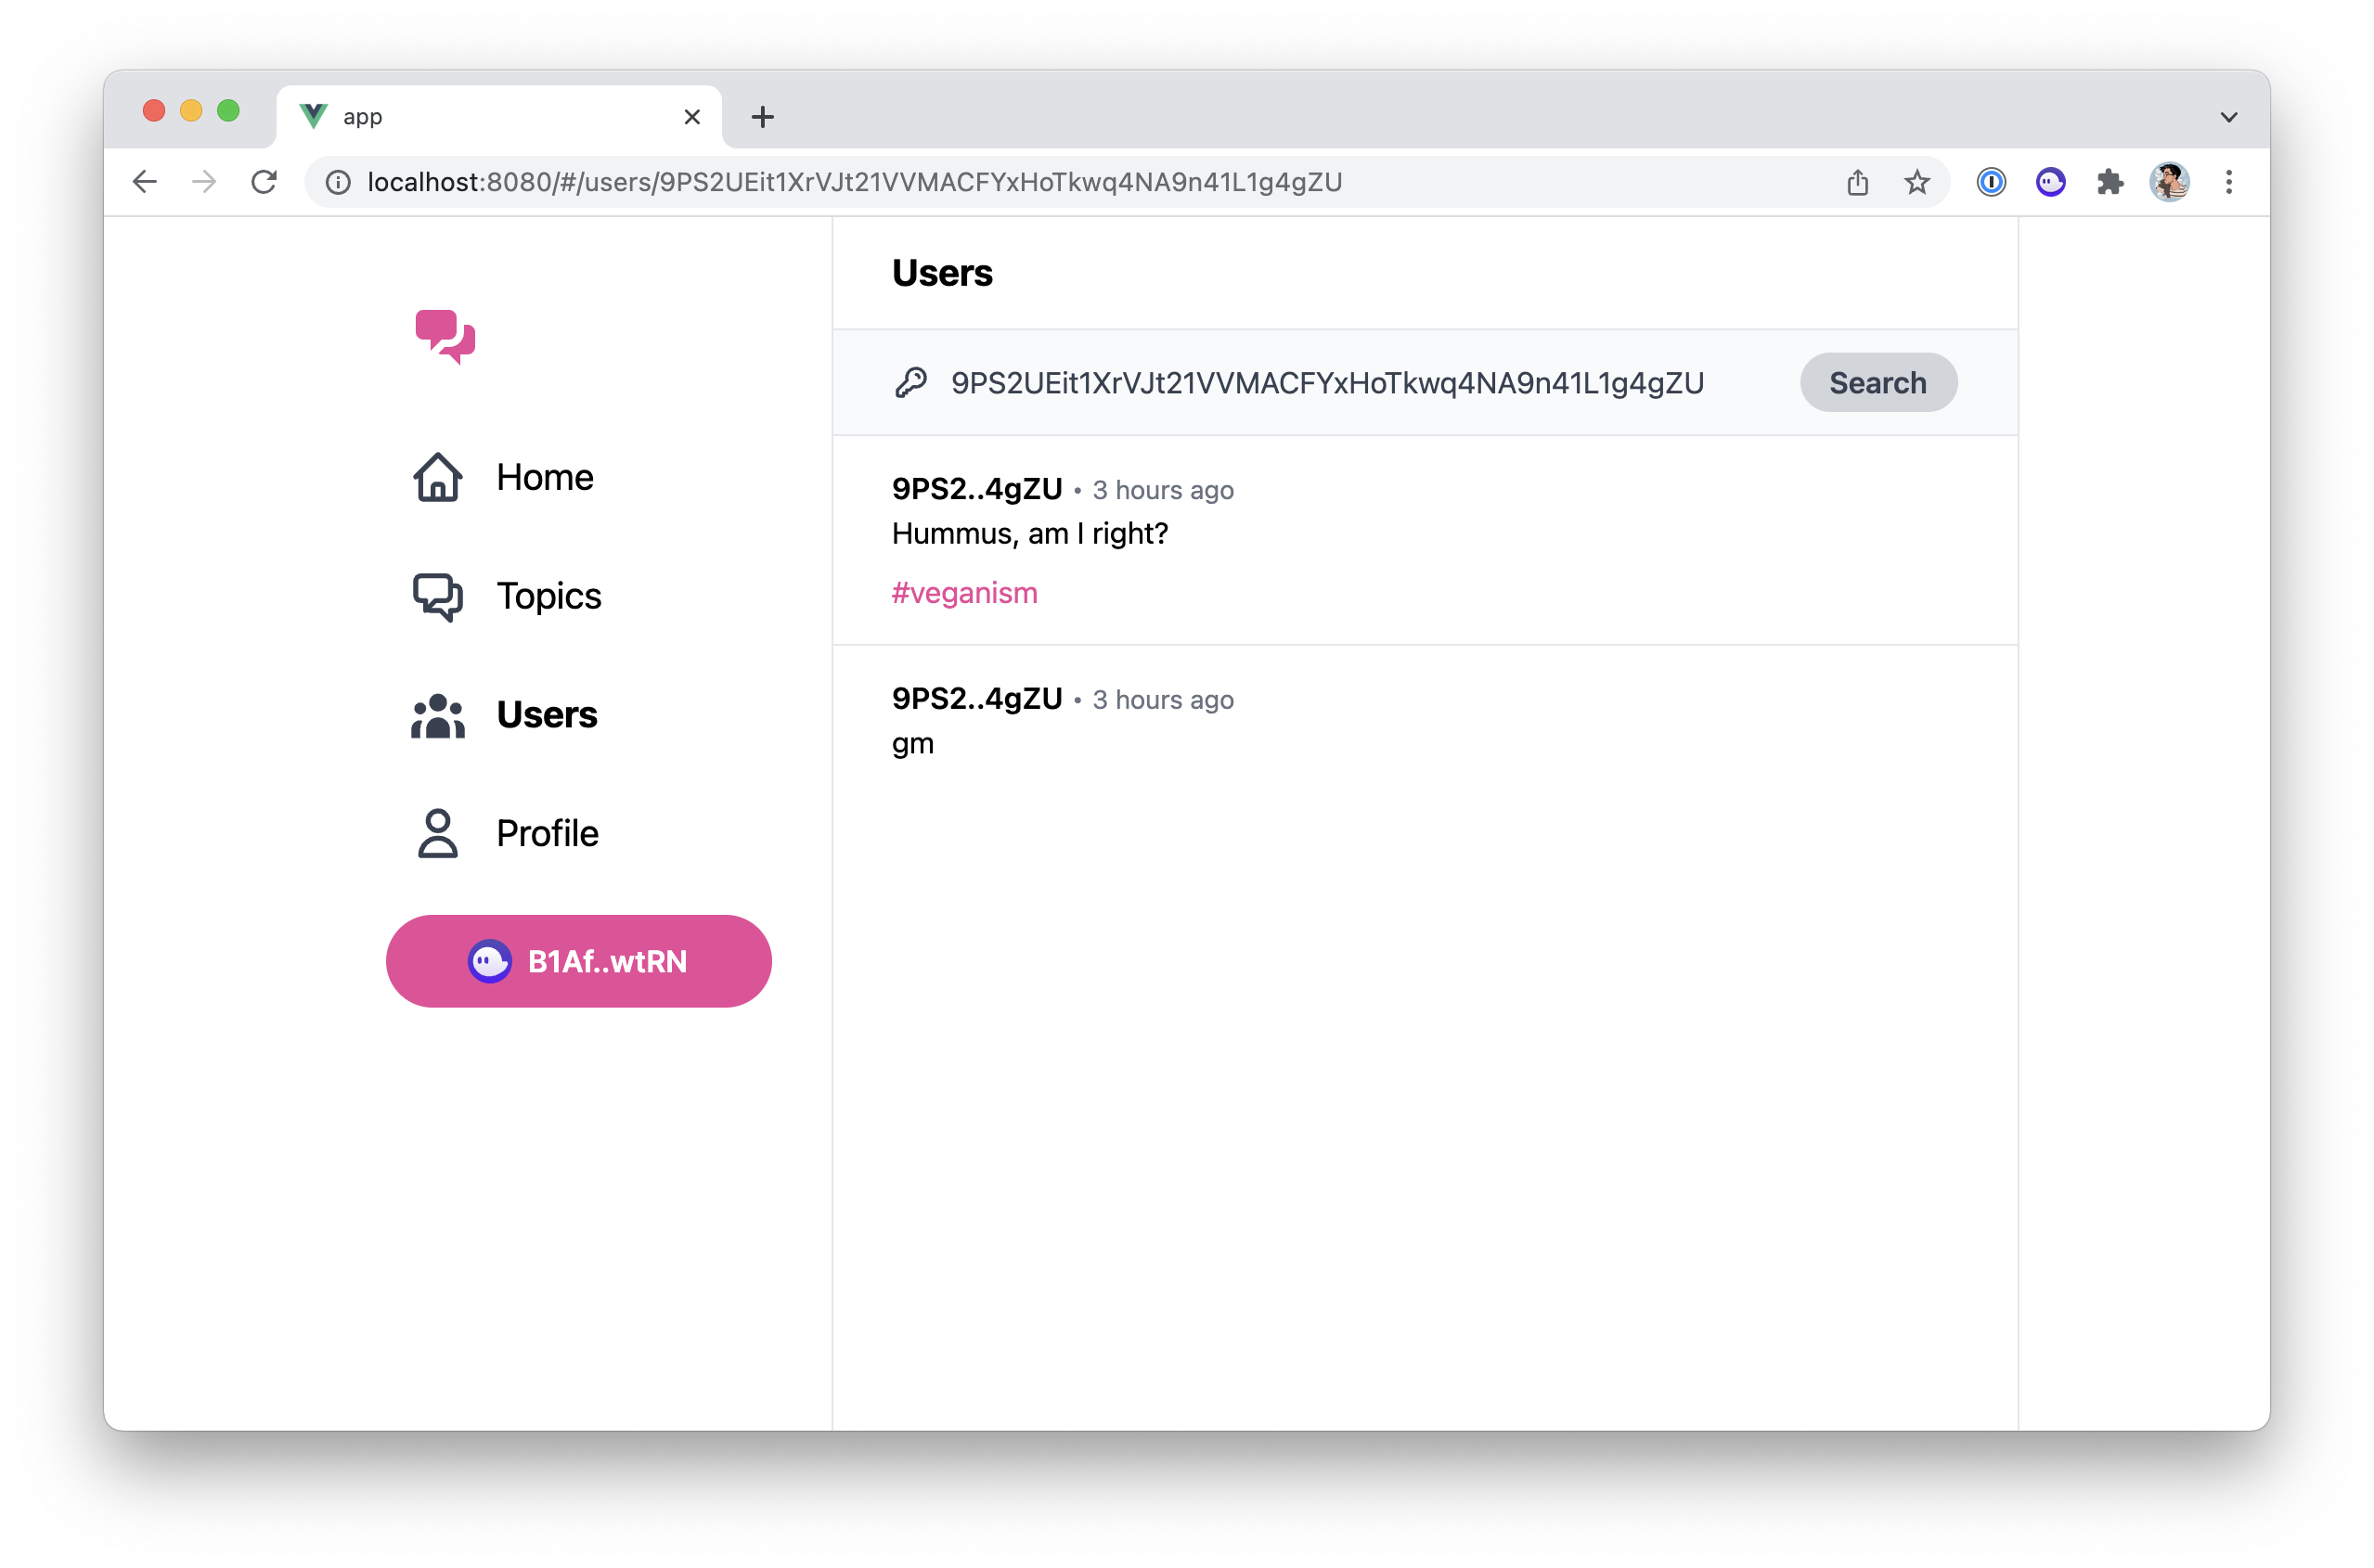
Boom, users page… Done! ✅
Before we move on, there’s one more page that needs to use the authorFilter function and that’s the profile page.
So let’s do the same to our PageProfile.vue component. As usual, we import the authorFilter...
import { ref, watchEffect } from 'vue'
import { fetchTweets, authorFilter } from '@/api'
import TweetForm from '@/components/TweetForm'
import TweetList from '@/components/TweetList'
import { useWorkspace } from '@/composables'
... and use it in the first parameter of the fetchTweets function.
watchEffect(() => {
    if (! wallet.value) return
    fetchTweets([authorFilter(wallet.value.publicKey.toBase58())])
        .then(fetchedTweets => tweets.value = fetchedTweets)
        .finally(() => loading.value = false)
})
Notice that, we also added a line that ensures we do have a connected wallet before continuing — i.e. if (! wallet.value) return. Even though the profile page is hidden when no wallet is connected, we still need to add that extra check because, upon refresh, there will be a little delay before the wallet re-connects automatically.
Fetching only one tweet
There’s one last page where users can access tweets and that’s the Tweet page. That page is a little special because instead of displaying multiple tweets, it simply retrieves the content of a Tweet account at a given address.
Therefore, we can’t use the fetchTweets API endpoint here. Instead, there is a getTweet API endpoint located in the get-tweet.js file that we need to update.
Replace everything inside that file with the following code.
import { useWorkspace } from '@/composables'
import { Tweet } from '@/models'

export const getTweet = async (publicKey) => {
    const { program } = useWorkspace()
    const account = await program.value.account.tweet.fetch(publicKey);
    return new Tweet(publicKey, account)
}
The getTweet method accepts a publicKey parameter which should be an instance of Solana’s PublicKey class.
It then uses the fetch method from the account.tweet API provided by Anchor’s program to fetch the content of the account. We can then combine this account data with the provided public key to return a new Tweet object.
Now that our getTweet API endpoint is ready, let’s use it inside our PageTweet.vue component.
If you read the code inside this component, you’ll notice the getTweet method is already imported and used because that’s how we were displaying mock data before.
watchEffect(async () => {
    try {
        loading.value = true
        tweet.value = await getTweet(new PublicKey(tweetAddress.value))
    } catch (e) {
        tweet.value = null
    } finally {
        loading.value = false
    }
})
Notice that, for the public key, we use the tweetAddress reactive property which is dynamically extracted from the current URL. We then wrap its value inside a PublicKey object as this is what our API endpoint expects to receive.
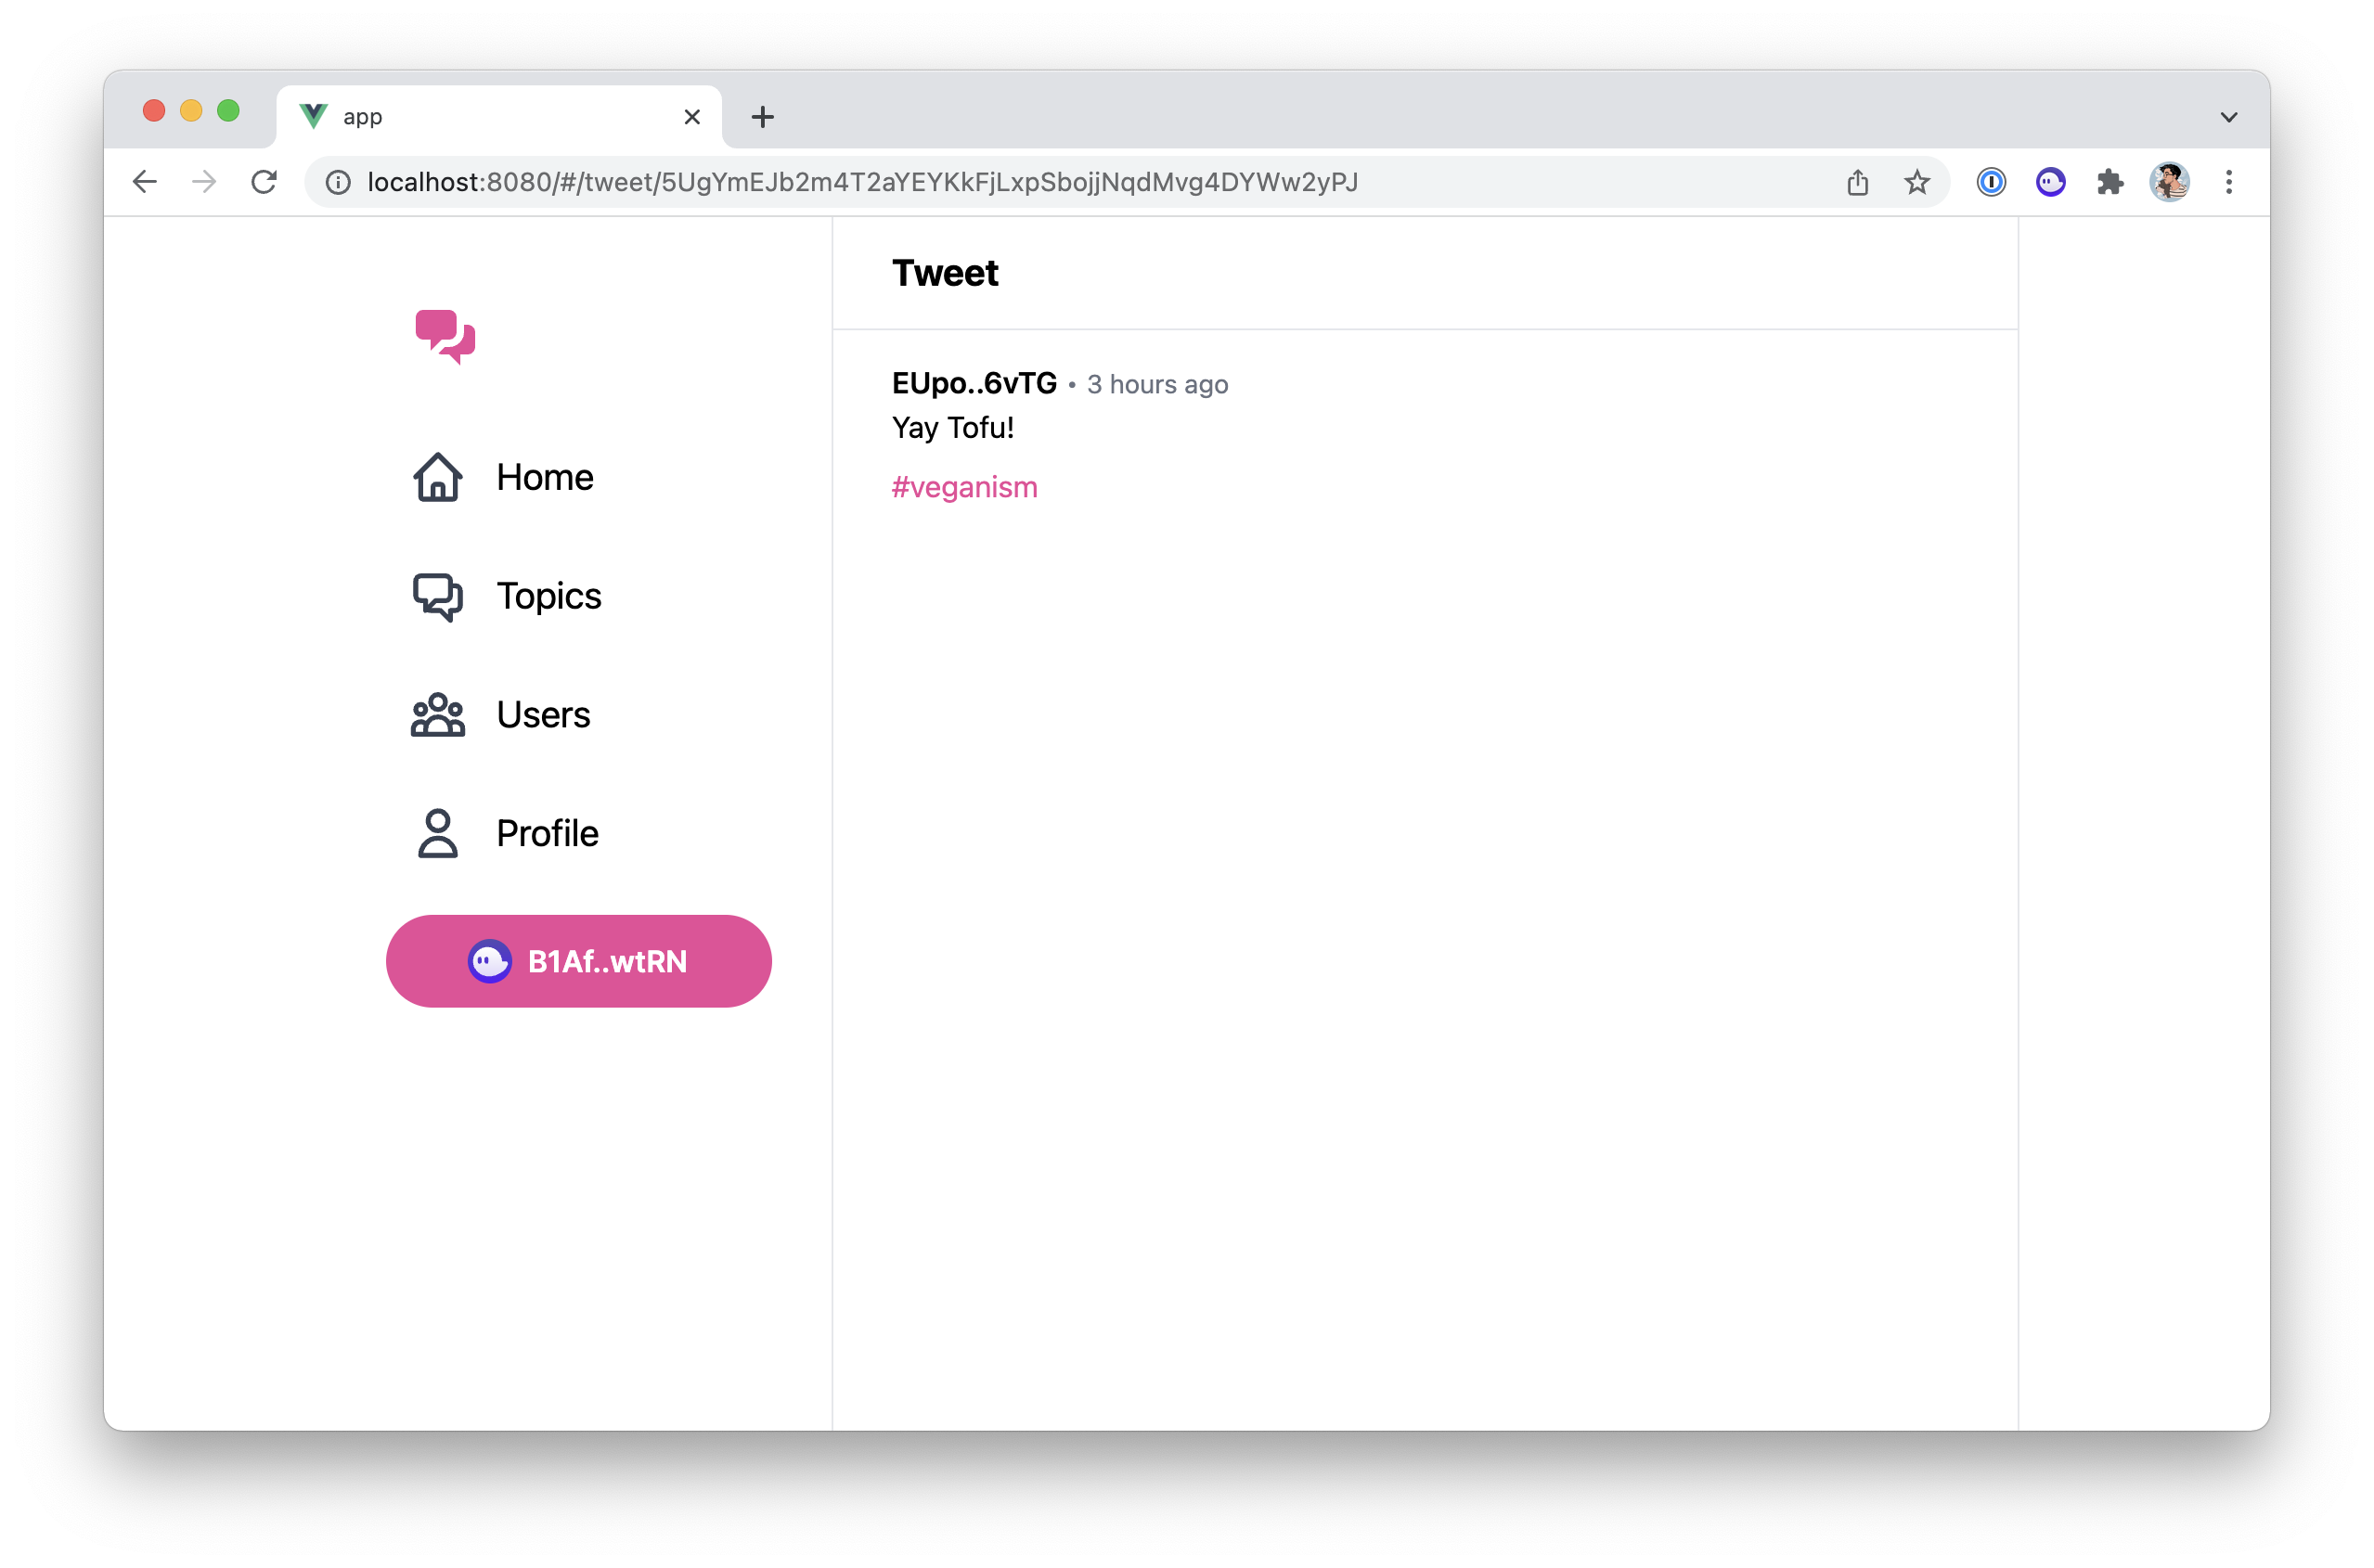
All done! ✅
If you click on the timestamp of a tweet, you now have access to a page that can be used to share it.
Conclusion
Our application really is starting to take shape! At this point, you should be able to look around and read all the tweets present in the blockchain.
The only thing missing before we can share our application to the world is allowing users to send tweets directly via our frontend app which is exactly what we’ll do in the next episode. 🙌
Integrating with Solana wallets

Sending new tweets from the frontend